Setup Document Management
Prerequisites
Note! In order to be able to run any Document Management features, the extension Omnia.DocumentManagement needs to be installed.
Set up the Document Type term set
- Go to the SharePoint Admin Center.
- Click on term store in the left-hand navigation.
- Make sure to add the Working Languages that you would like to support in the Document Management System. Note! This is a global setting. It will affect all services dependent on the term store.
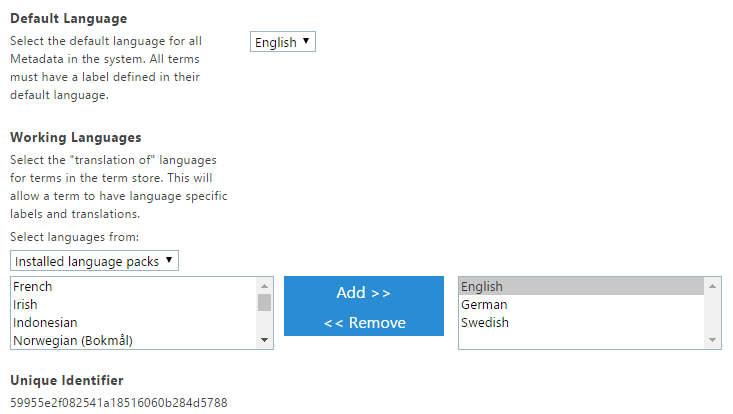
- Copy the Unique Identifier of the Term Store to Notepad for later use.
- Create a new term set group for Document Management. (Recommended if you want to isolate all term sets that are explicitly part of the Document Management Solution).
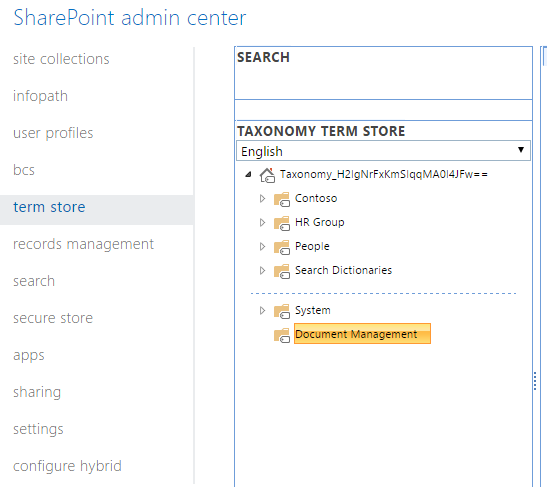
- Create a new term set in the group for Document Types.

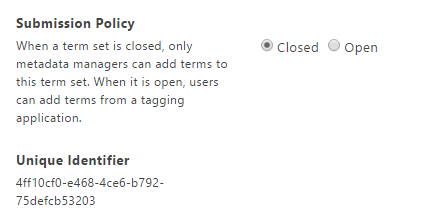
- Copy the Unique Identifier of the Term Set to Notepad for later use.
- Go to Omnia Admin > System > Extensions (Note! If no publishing site collection has been set up yet, you can access Omnia Admin through the App Catalog.)
- Click on Omnia.DocumentManagement and fill in the properties Term Store Id and Document Types Term Set Id and click on Save.
Activate Omnia Document Management Core Tenant Feature
- Go to Omnia Admin.
- Activate the tenant feature “Omnia Document Management Core”.
Configure the Title Search Property
- Go to SharePoint Admin Center > search.
- Click on Manage Search Schema.
- Filter on “refinablestring50”.
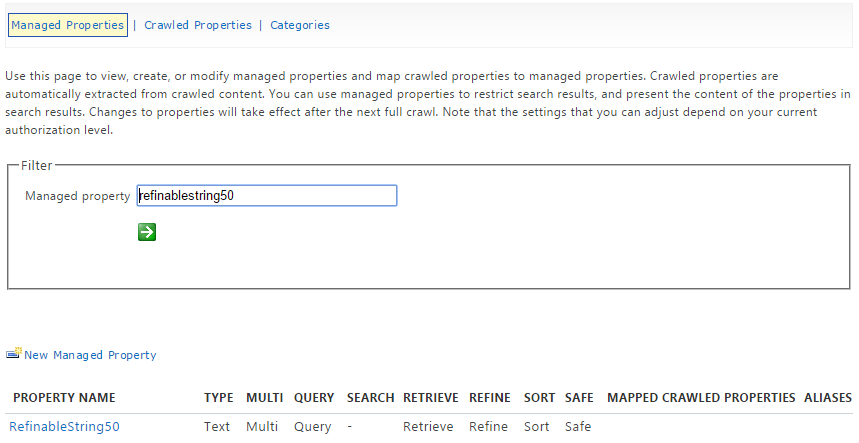
- Edit the managed property and map the following crawled properties.

- Go to Omnia Admin.
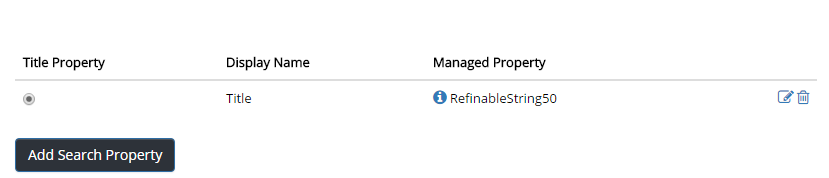
- Go to Document Management > Search Properties.
- Add a new Search Property for Title.

- Click on the radio button “Title Property” and save.
Set up the Archive
- Go to the SharePoint Admin Center.
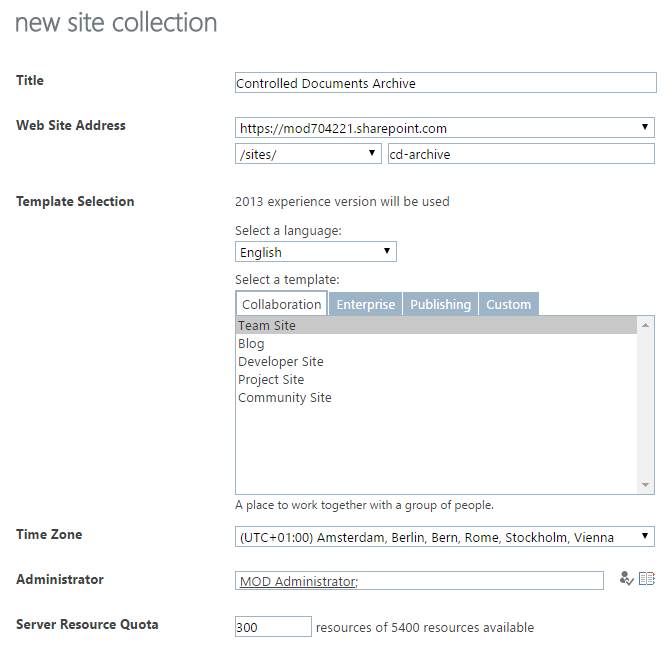
- Create a new site collection for the archive.
- Browse to the welcome page of the newly created site collection and copy the site url for later use.
- Go to Omnia Admin (from this site collection).
- Activate the site collection feature “Omnia Core Master Page”.
- Activate the site collection feature “Omnia Document Management Archive Site”.
- (Note! If you are using the Omnia Modern Header make sure to activate the site feature “Omnia Legacy Support Site Feature”.)
- Go to Omnia Admin > System > Extensions.
- Click on Omnia.DocumentManagement and fill in the property Archived Site Url.

- Go to Site Contents.
- Click on ODM Archived. (If the document library is set to show the modern experience, please make sure to click on “Return to classic SharePoint”.)
- Click on “PAGE” in the ribbon and “Make Homepage”.

Built-in Search Properties
- Go to Omnia Admin > Document Management > Document Templates.
- Upload a blank Word document as a new Document Template.
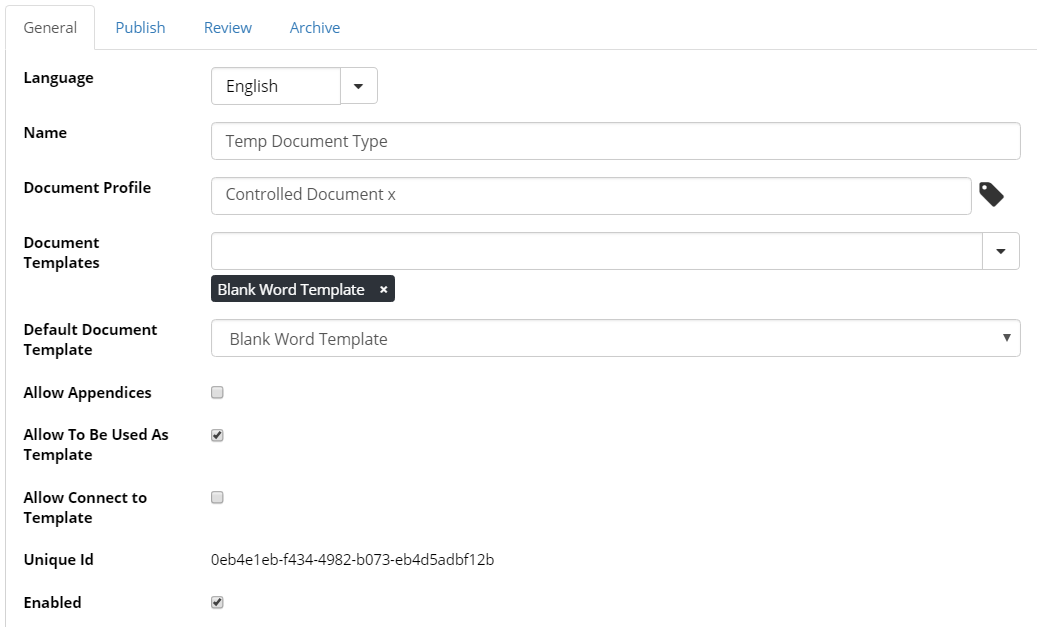
- Add a new temporary Document Type.
- Create a new team site and go to the welcome page of the new site.
- Go to Omnia Admin > Features.
- Activate the site collection feature “Omnia Document Management Authoring Infrastructure”.
- Activate the site feature “Omnia Document Management Authoring Site”.
- (Note! If you are using the Omnia Modern Header make sure to activate the site feature “Omnia Legacy Support Site Feature”.)
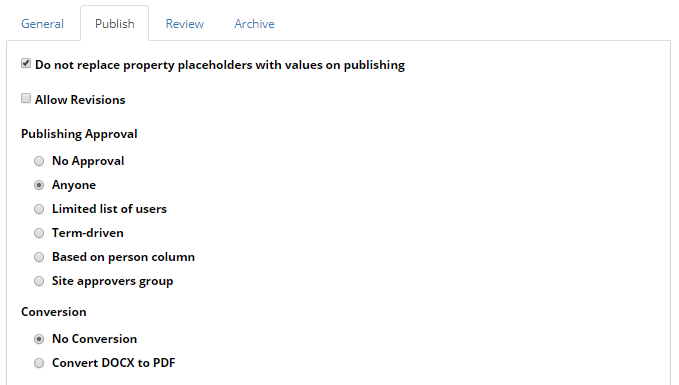
- Create a new controlled document based on the Temp Document Type and Blank Word Template and publish it.
- When the draft has been published, create a new draft of the document and then publish a second edition. (The reason for this is that we want a copy to end up in the archive.)
- Now is a good time to grab a cup of coffee before you continue, because the search engine needs to crawl the document and it may take about 15 minutes.
- Go to SharePoint Admin Center > Search > Manage Search Schema and map crawled properties to managed properties. (Any existing out of the box mappings on the crawled properties can be removed if not explicitly stated in the instruction below).
- Filter on “odmdocid”.
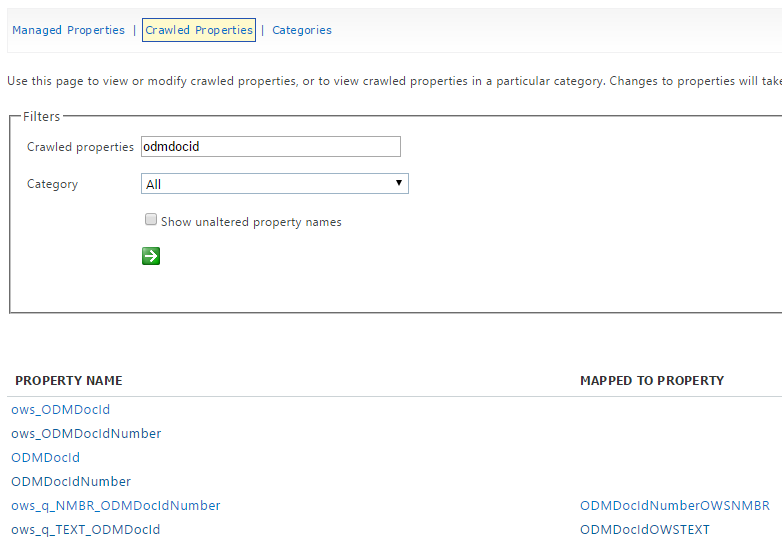
- Edit ows_ODMDocId and add a mapping to RefinableString51.
- Edit ows_ODMDocIdNumber and add a mapping to RefinableInt30.
- Filter on “ows_ODMEdition”.
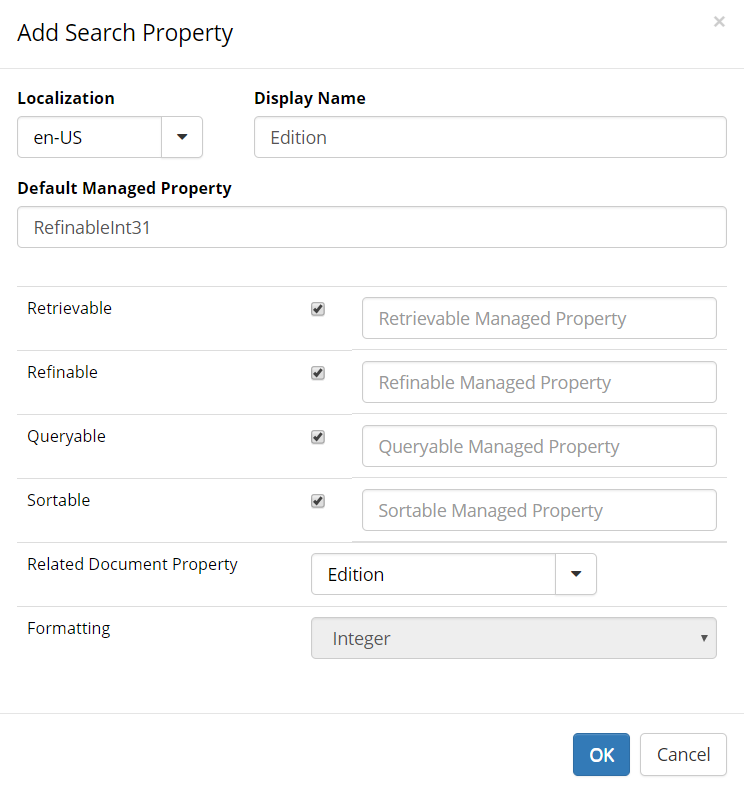
- Edit ows_ODMEdition and add a mapping to RefinableInt31.
- Filter on “ODMDocumentType”.
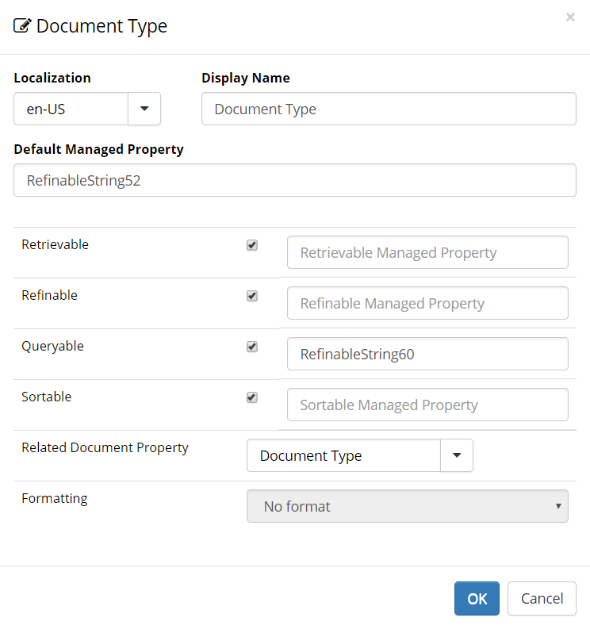
- Edit ows_ODMDocumentType and add a mapping to RefinableString52.
- Edit ows_taxid_ODMDocumentType and add a mapping to RefinableString60.
- Edit ows_ODMDocumentTypeId and add a mapping to RefinableInt32.
- Filter on “ows_q_DATE_ODMPublished”.
- Edit ows_q_DATE_ODMPublished and add a mapping to RefinableDate10.
- Filter on “approved”.
- Edit ows_q_DATE_ODMApproved and add a mapping to RefinableDate11.
- Edit ows_ODMApprovedBy and add a mapping to RefinableString54.
- Edit ows_q_USER_ODMApprovedBy and add a mapping to RefinableString59.
- Filter on “ows_q_DATE_ODMReviewDate”.
- Edit ows_q_DATE_ODMReviewDate and add a mapping to RefinableDate12.
- Filter on “ows_q_DATE_ODMPublishedFrom”.
- Edit ows_q_DATE_ODMPublishedFrom and add a mapping to RefinableDate13.
- Filter on “ows_q_DATE_ODMPublishedTo”.
- Edit ows_q_DATE_ODMPublishedTo and add a mapping to RefinableDate14.
- Filter on “ows_ODMContentLanguage”.
- Edit ows_ODMContentLanguage and add a mapping to RefinableString55.
- Filter on “ows_SiteName”.
- Edit ows_SiteName and add a mapping to RefinableString56. (Note! Do not remove the managed property “Site Title”.)
- Filter on “ows_SPSiteUrl”.
- Edit ows_SPSiteUrl and add a mapping to RefinableString57. (Note! Do not remove the managed property “SPSiteUrl”.)
- Go to Omnia Admin > Document Management > Search Properties.
- Add a Search Property for Document Id.

- Add a search property for Edition.
- Add a search property for Document Type.
- Add a Search Property for Published.

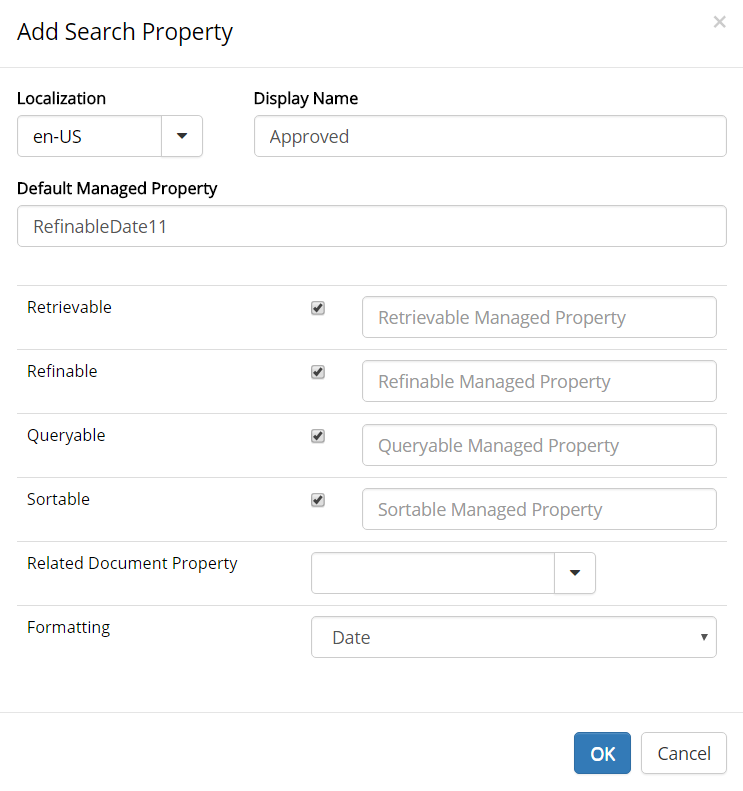
- Add a Search Property for Approved.
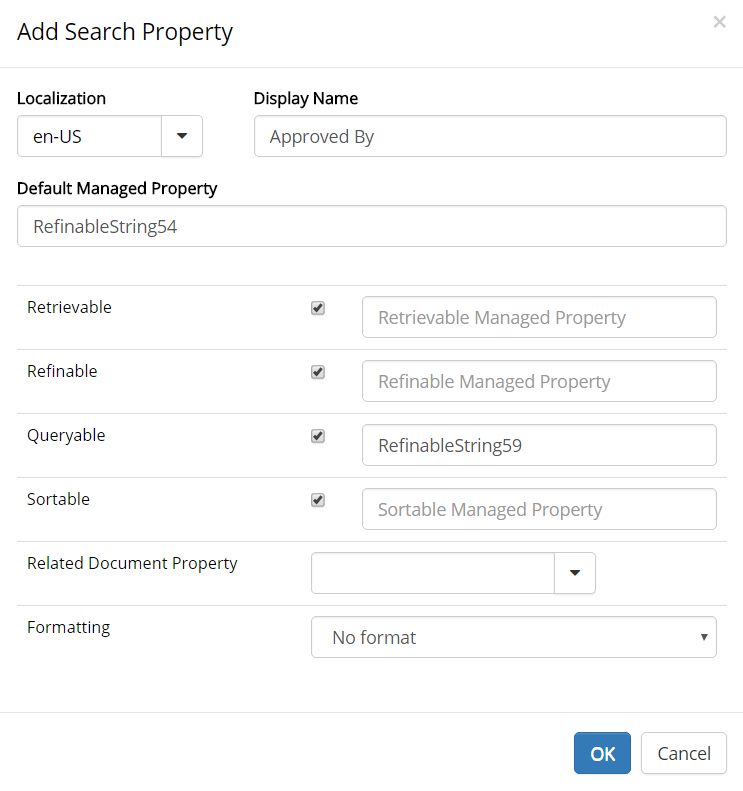
- Add a Search Property for Approved By.
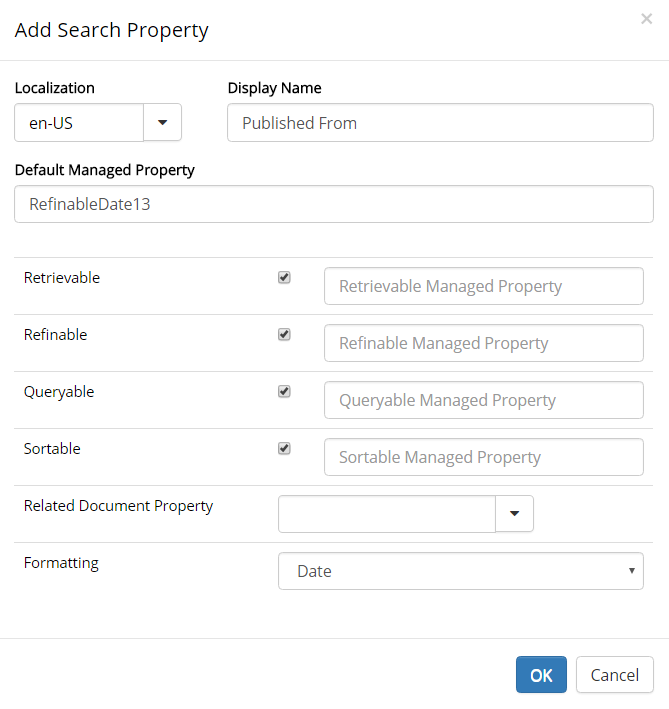
- Add a Search Property for Published From.
- Add a Search Property for Published To.

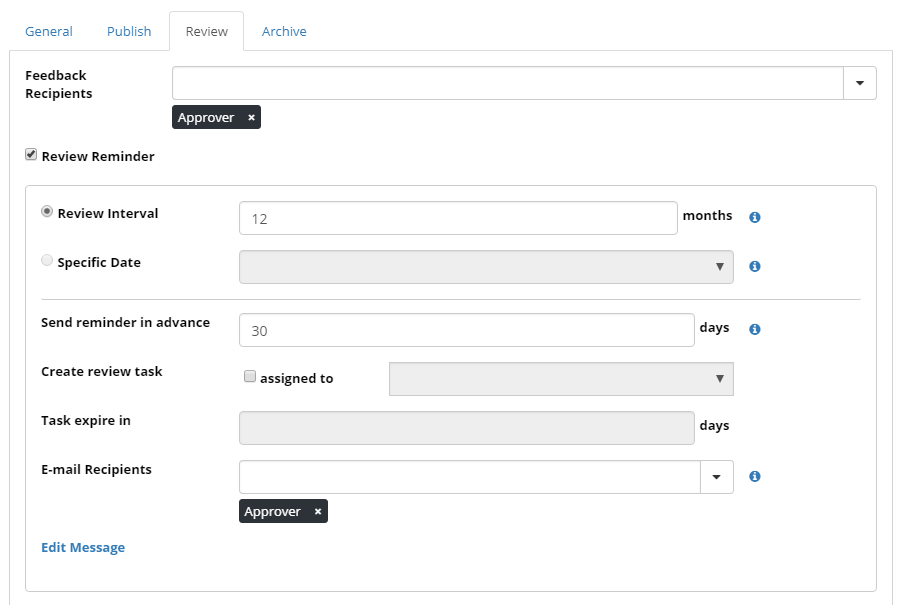
- Add a Search Property for Review Date.

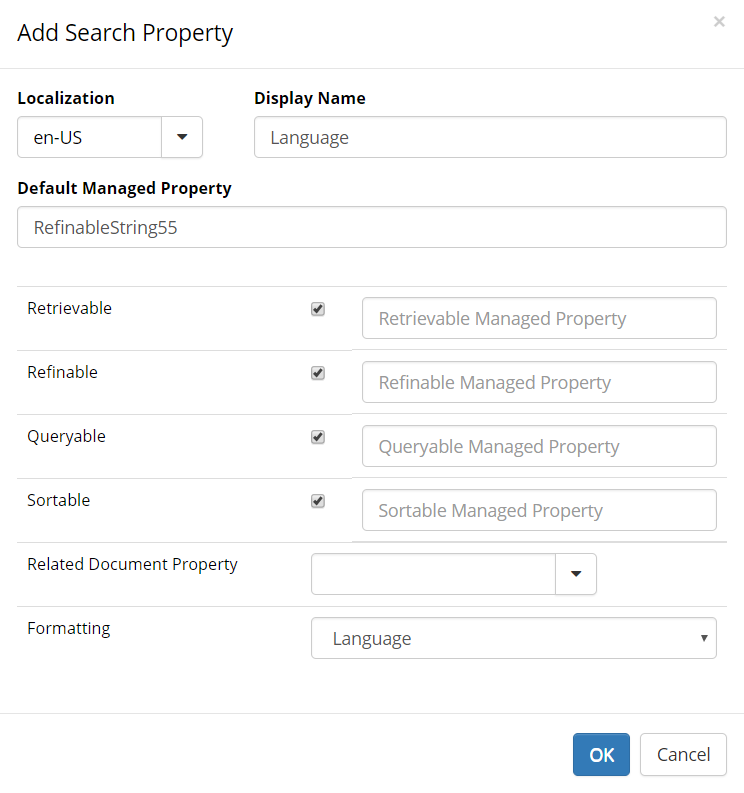
- Add a Search Property for Language.
- Add a Search Property for Team Site.

- Go to Document Management > Settings.
- Set the “Review Date Property Name” setting to “RefinableDate12”.