Media Picker
The Media Picker can be used to add an image or a video to the page image area or to the page content. Any image on the editor’s computer can be selected, as well as from any central image location registered in Omnia Admin. An image can be pasted from the clipboard as well. Besides that Bing can be used to find images. Regarding Bing, only images that are free to use and share will be available.
Videos can be selected from your company’s Stream in Microsoft 365, or from YouTube.
To use the Media Picker it needs to be activated in Omnia Admin (Systems/Settings/Intranet Core). If the Media Picker is not activated, the Image Picker will be used instead, see: Image Picker
Here’s how to use the Media Picker:
When browsing for an image using Quick Edit (for publishing pages and news article pages), the Media Picker is opened:
Image
The first step is to select an image and then some basic settings can be made, see below.
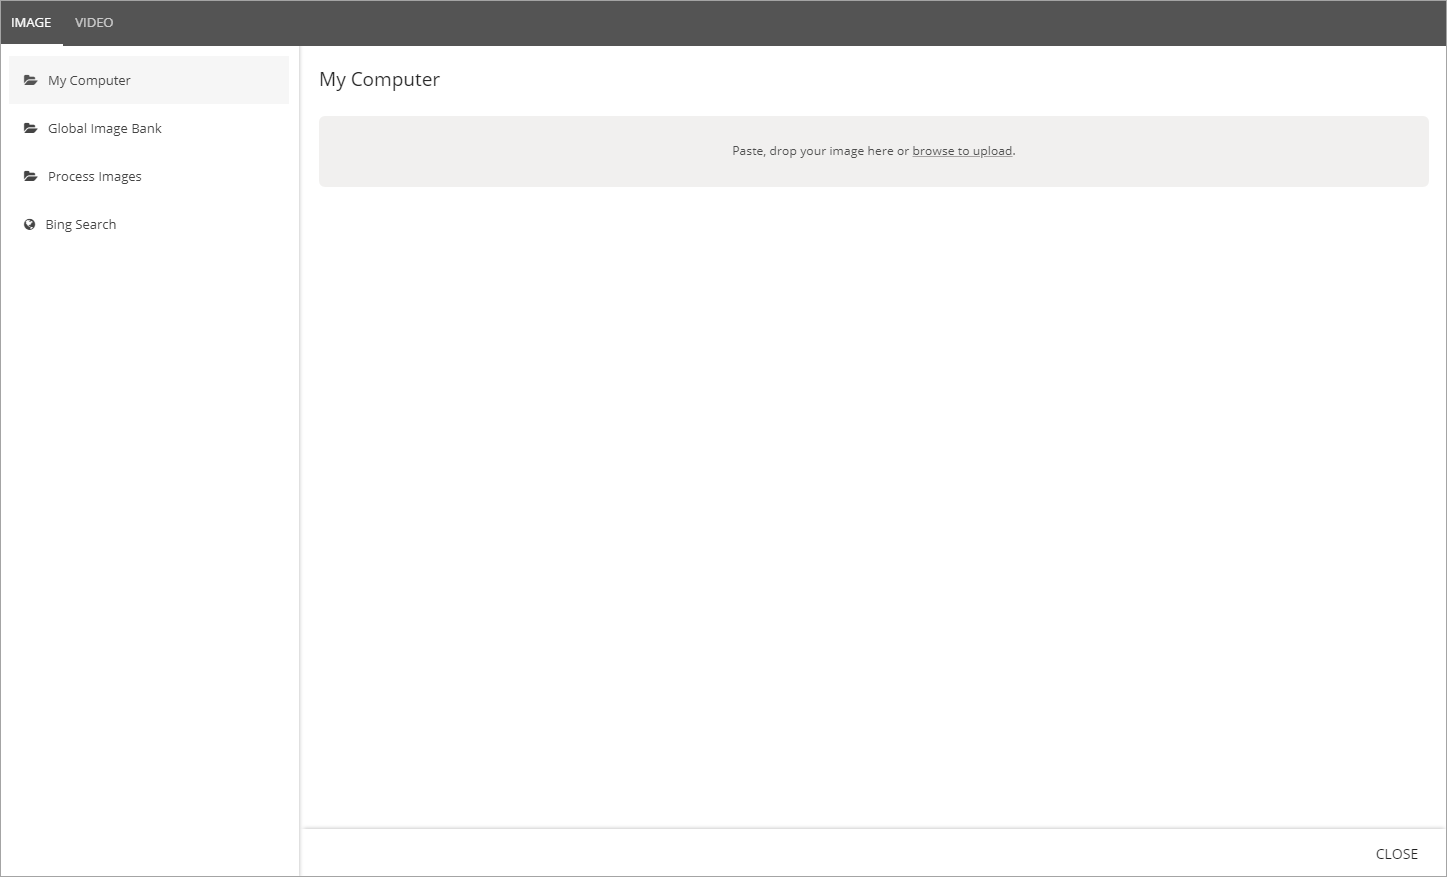
My Computer
Select “My Computer” to either paste an image from the clipboard or to browse for an image.

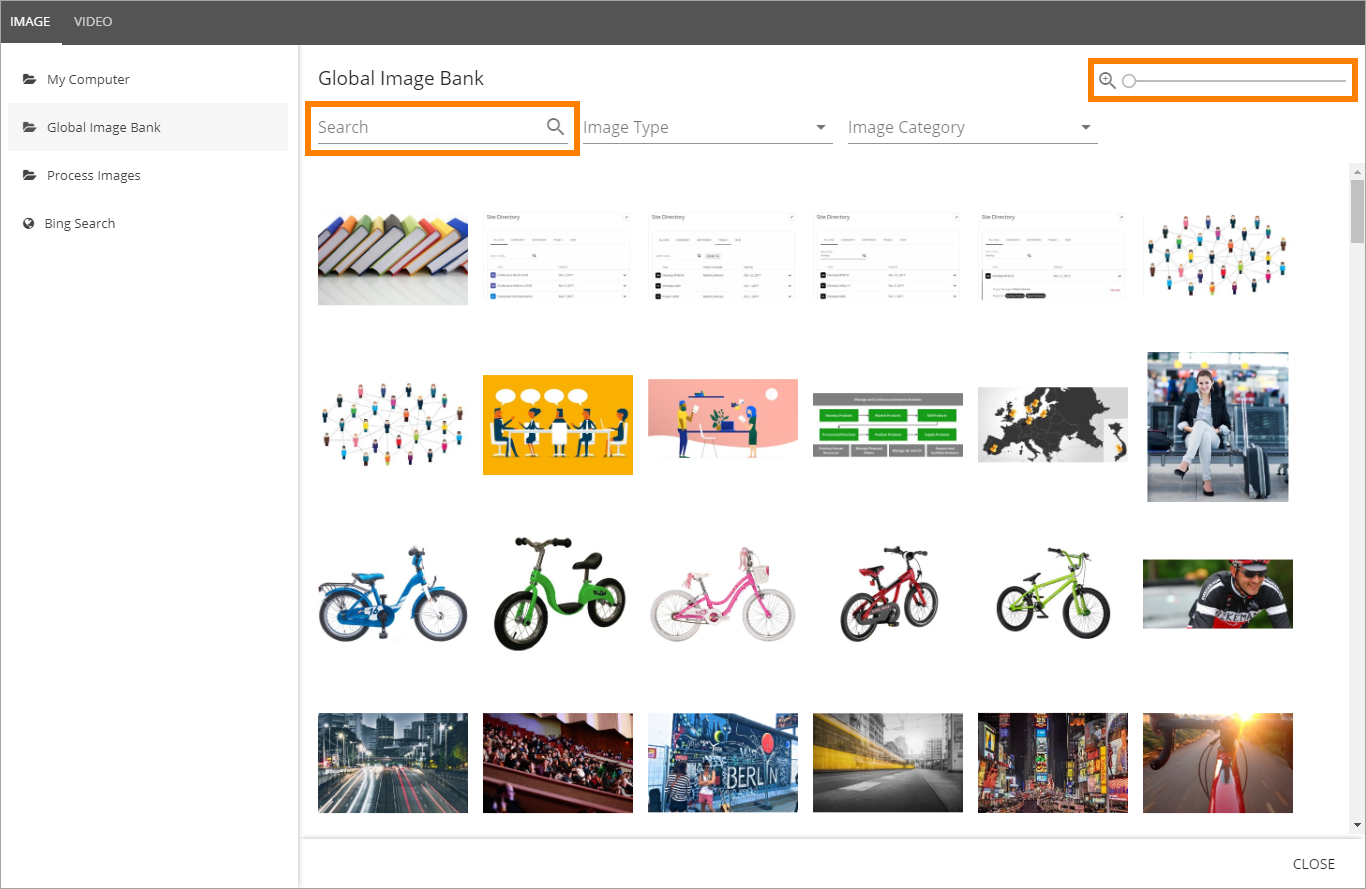
Global Image Bank
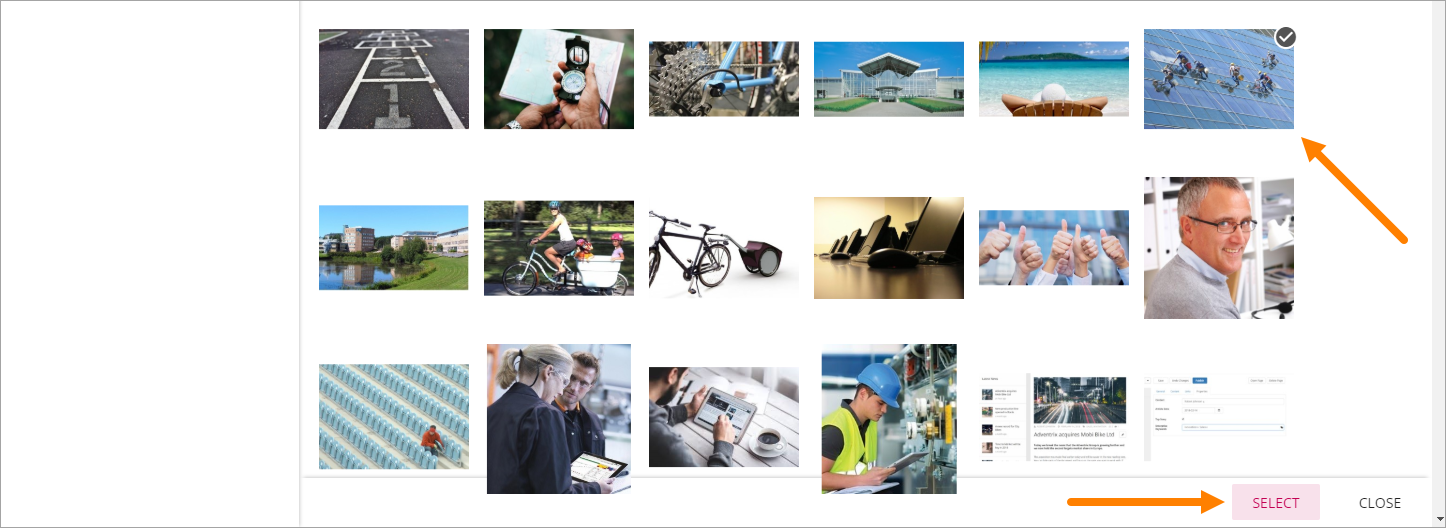
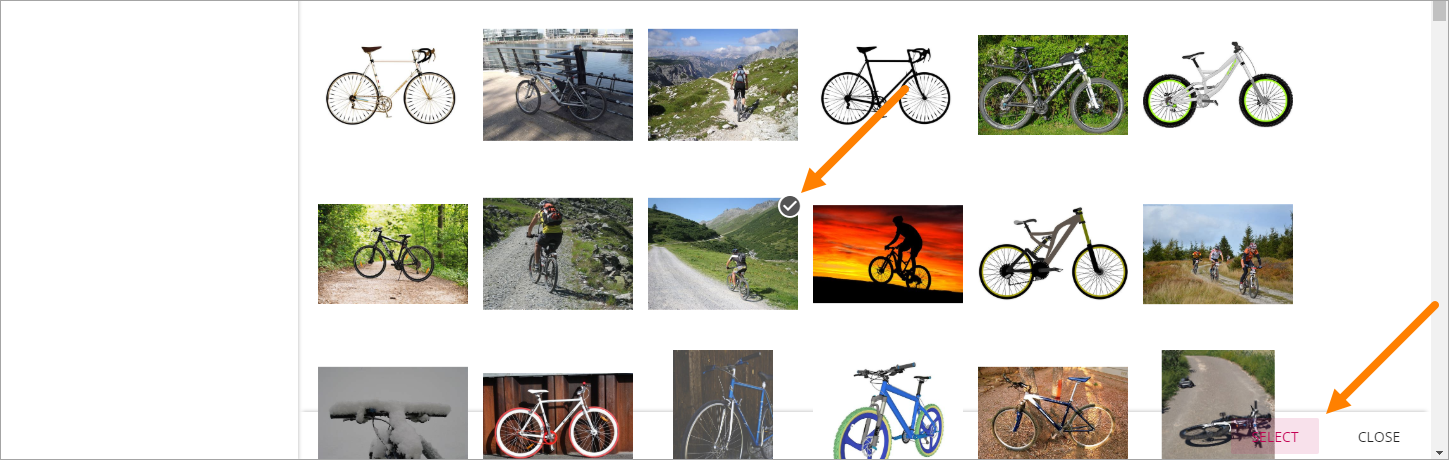
When selecting “Global Image Bank”, you see a preview of all images there. Use “Search” to search for an image. You can use the slider to the top right to change the preview size.
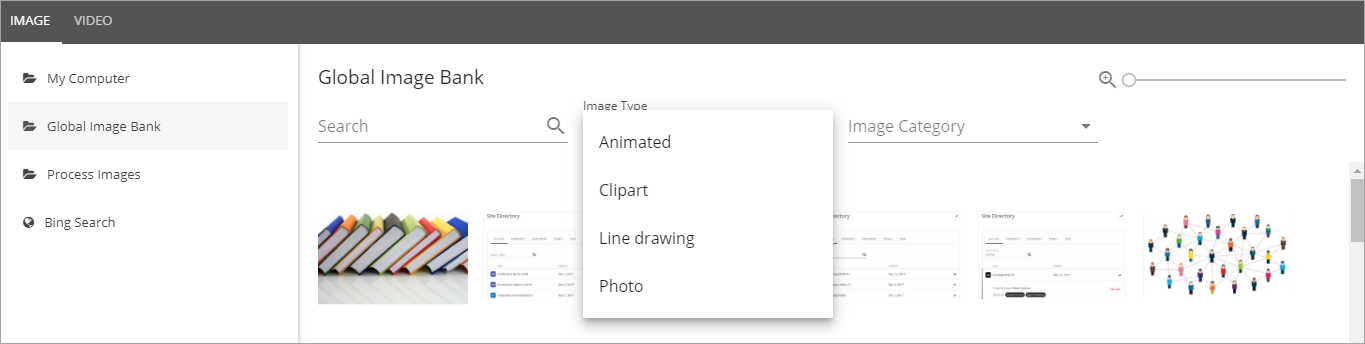
The image bank can be filtered on image type:
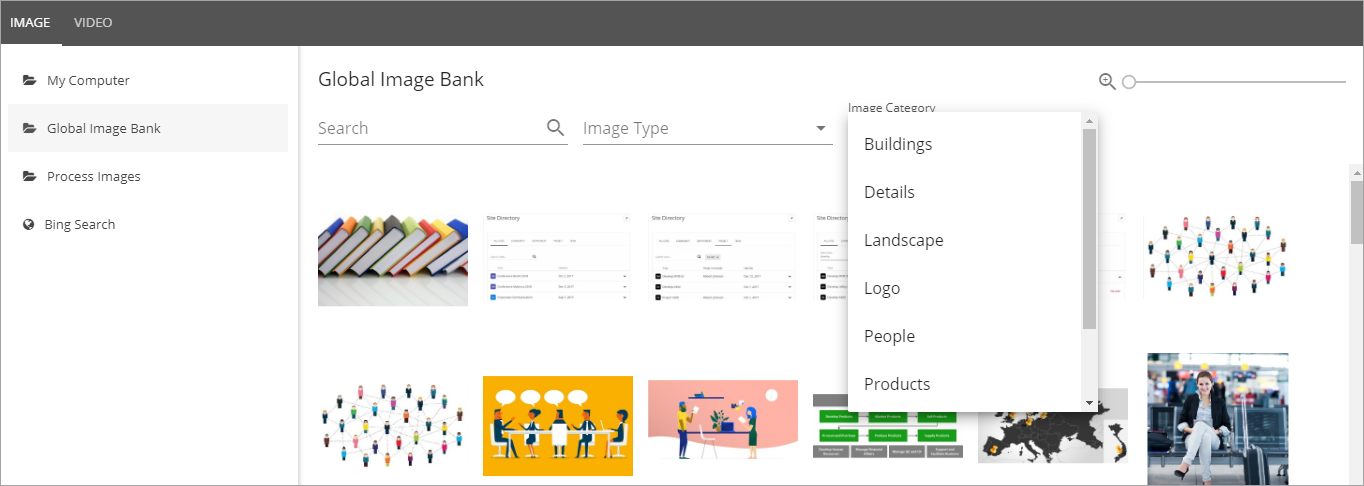
and on Image Category:
To select an image, double click on the image, or select the image and click “SELECT”.
Process images
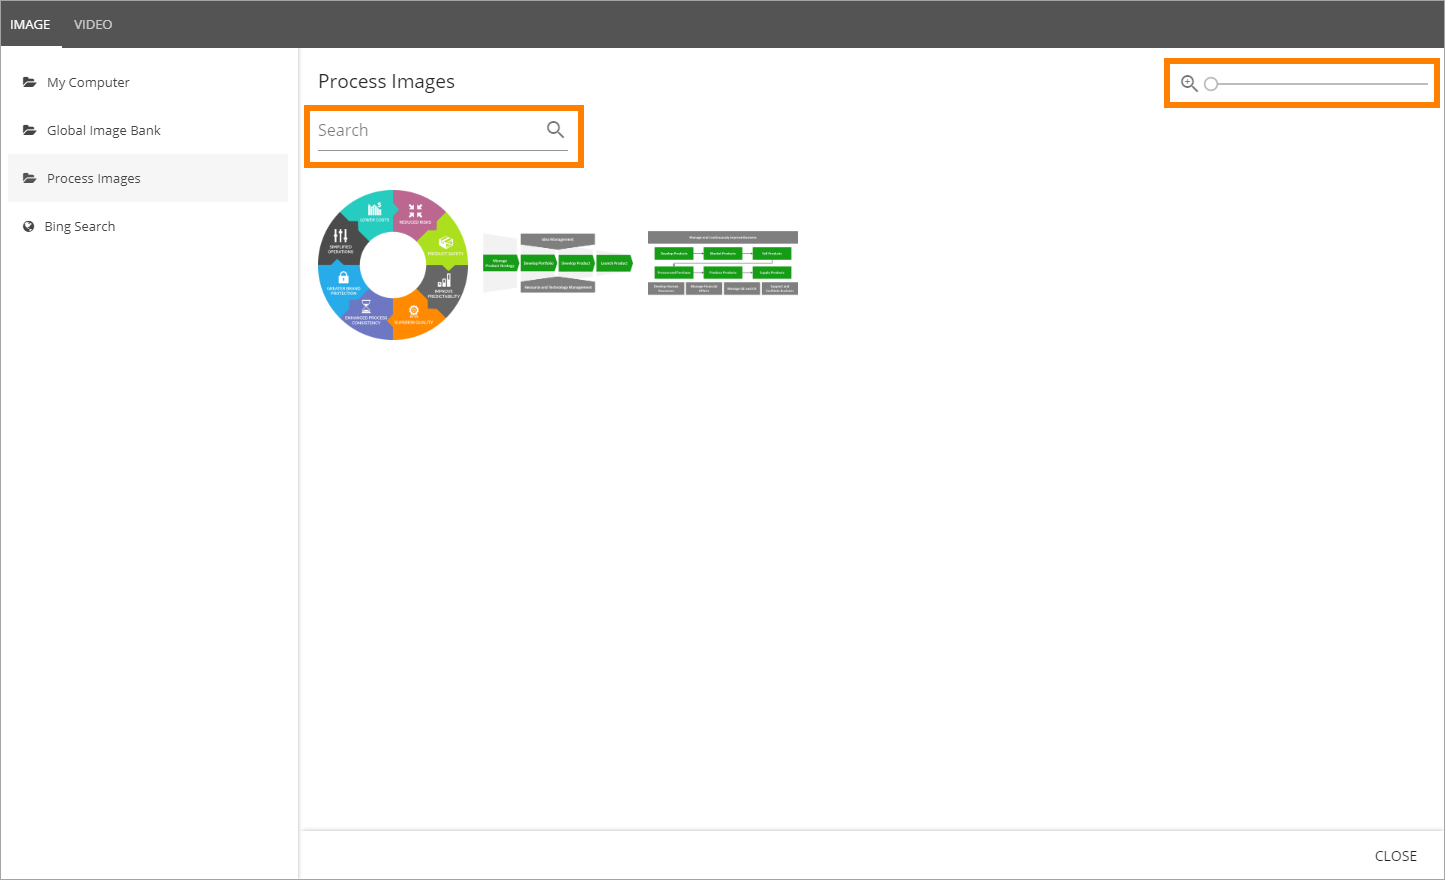
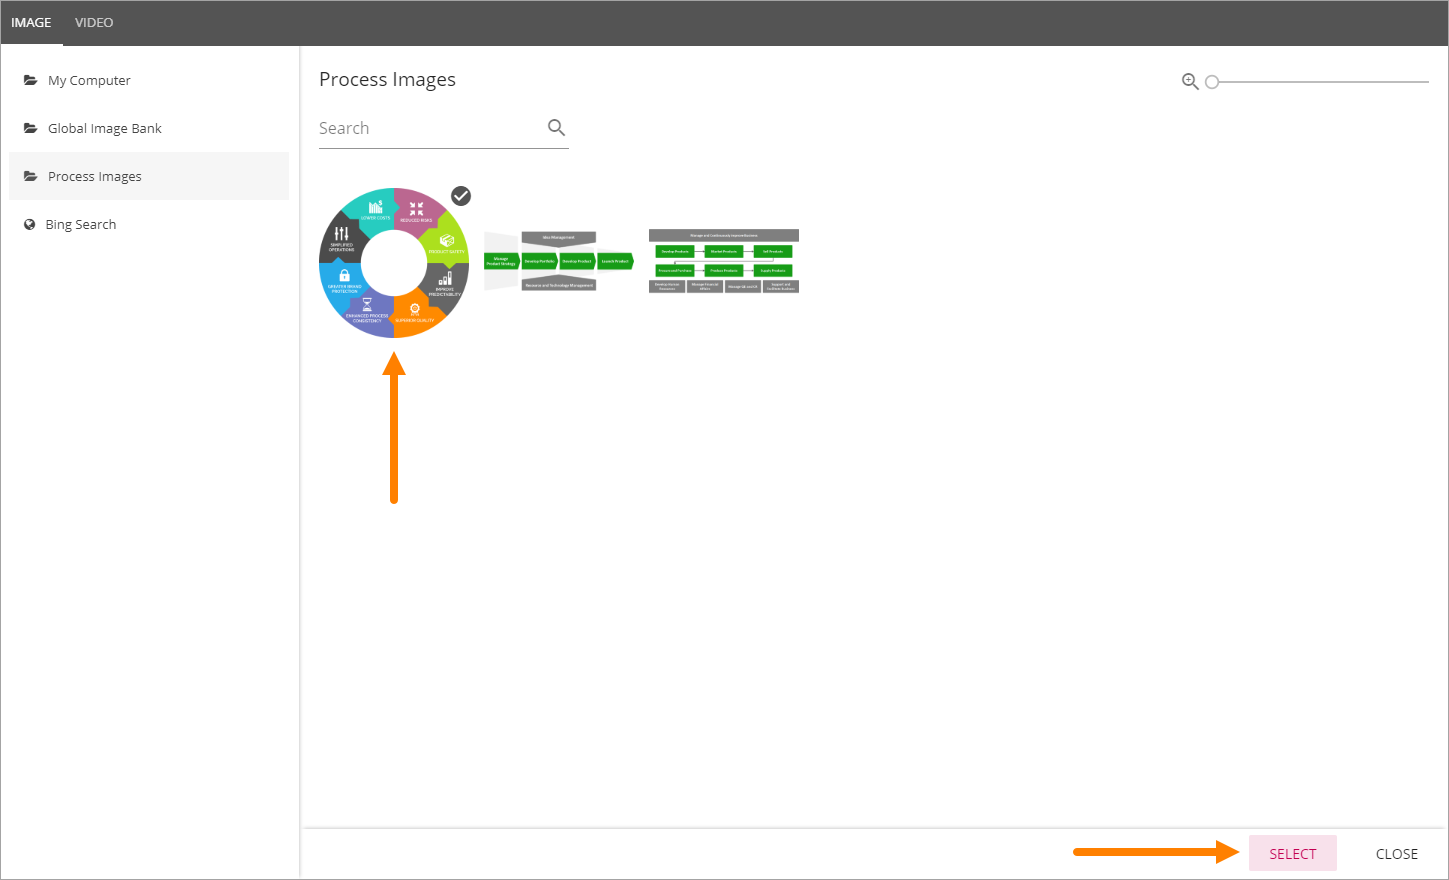
If Omnia QMS i installed, an image library for process images will be available. When selecting this option you see a preview of all images there. Use “Search” to search for an image. You can use the slider to the top right to change the preview size.
To select an image, double click on the image, or select the image and click “SELECT”.
Bing Search
When selecting “Bing Search” you can search for any Bing image, or use the predefined search categories, if any is set up. Bing search categories can be set up by an administrator in Omnia Admin (Systems/Settings/Media Picker).

When a bing search has been conducted, something like the following is shown:
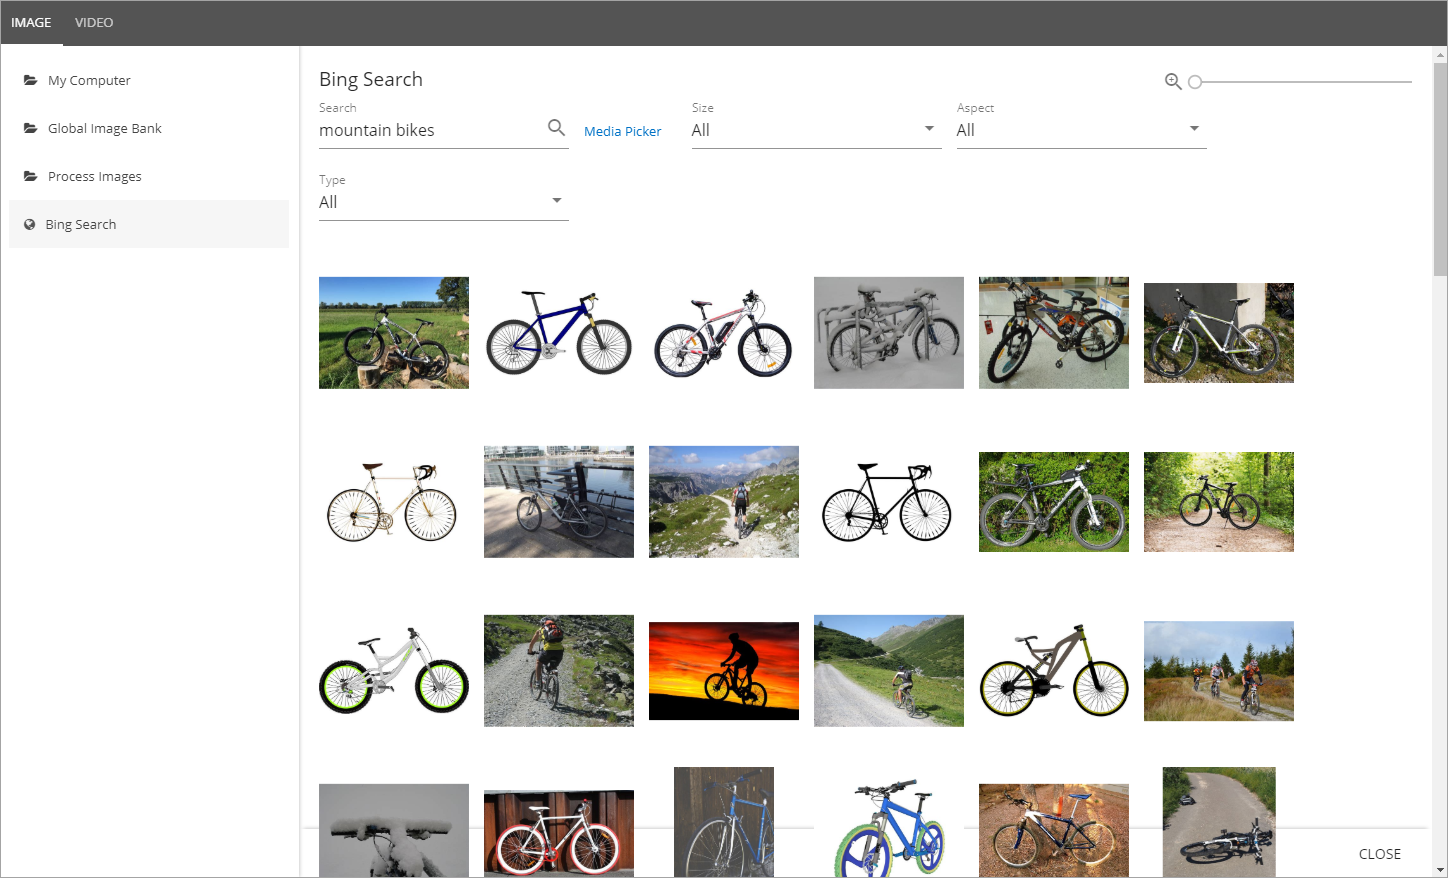
- Search: Use this field to conduct a new search.
- Size: Use this field the filter the search result on size; Small, Medium, Large, Wall paper, All.
- Aspect: Here you can filter on the image format; Square, Wide, Tall, All.
- Type: Use this to filter on image type; Clipart, Line, Photo, All.
To select an image, double click or select the image and click “SELECT”.
Settings for an image
When the image has been selected, the following settings can be made:
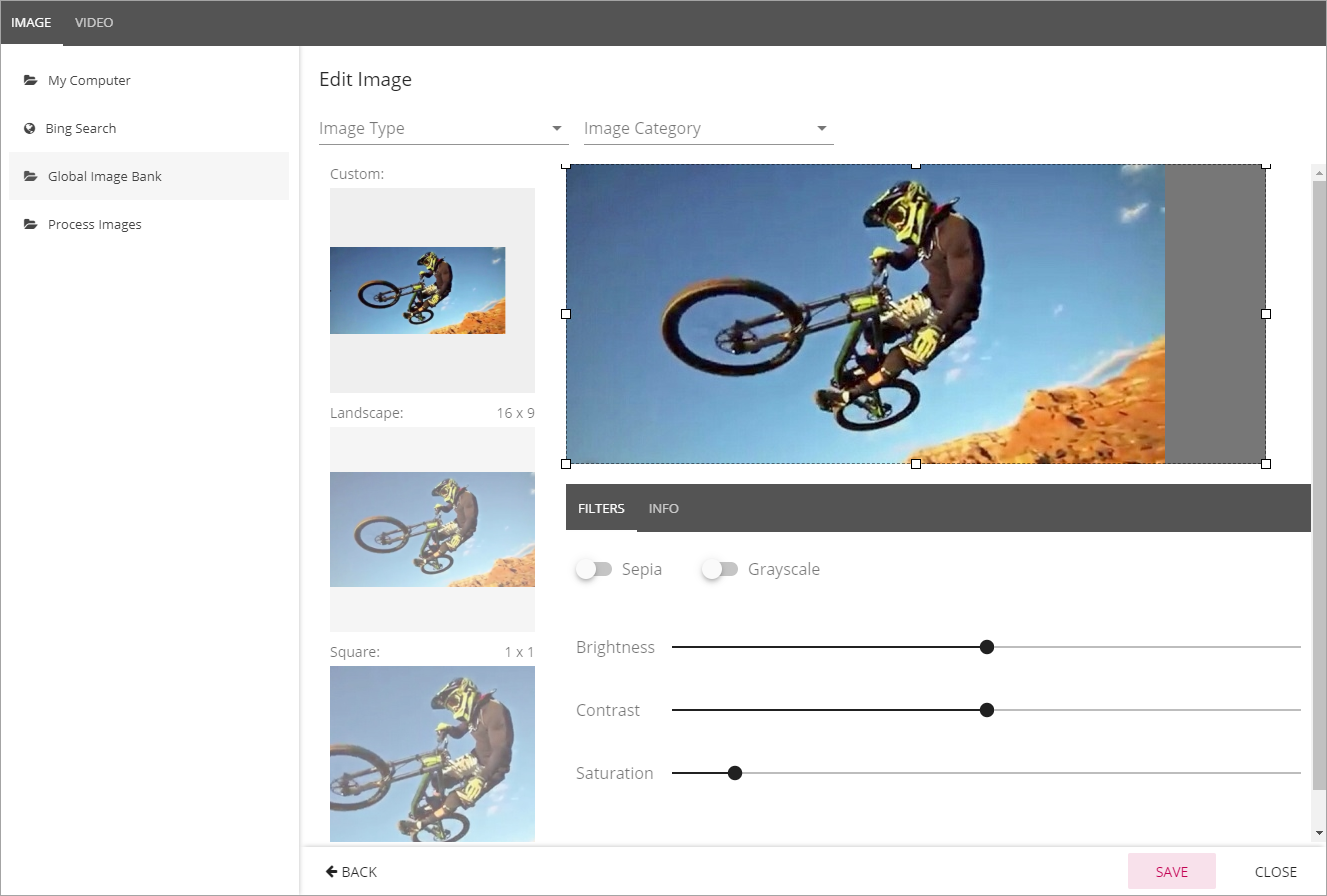
- Image Type: Select image type. Can be used for filtering the image list, see above.
- Image Category: Select image category. Can be used for filtering the list, see above.
- Custom: Set a custom shape using the eight squares as handles. Just draw to the desired shape. When a custom image is used in a page image area the full width of the area is used and the height of the area is adapted.
- Landscape: Click the Landscape preview and use the selection on the image to decide wich part of the image to show when it’s used in landscape format.
- Square: Click the Square preview and use the selection on the image to decide wich part of the image to show when it’s used in square format.
- Filters: Use the filters to adjust the image; Sepia coloring, Grayscale coloring, Brightness, Contrast and Saturation.
- Info: Use the Info tab to edit the file name and enter Alt Text for the image.
Don’t forget to save your changes when you’re done.
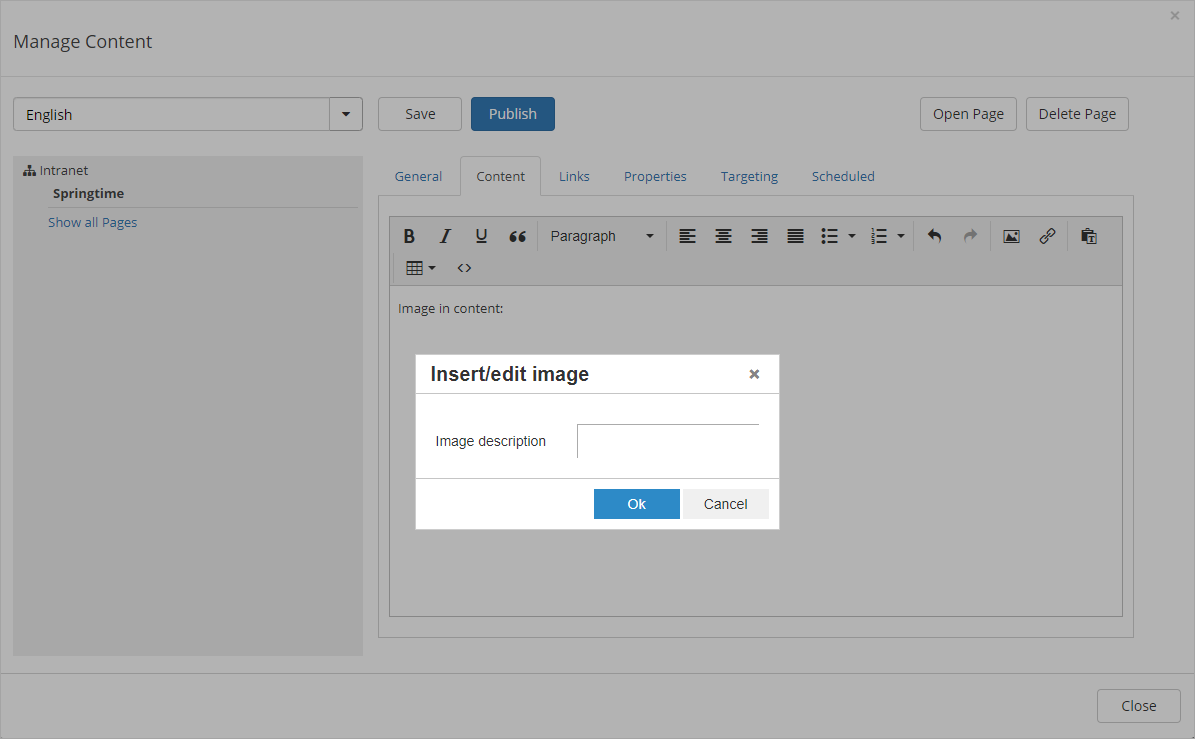
When adding an image to contents, an image decription must be added:
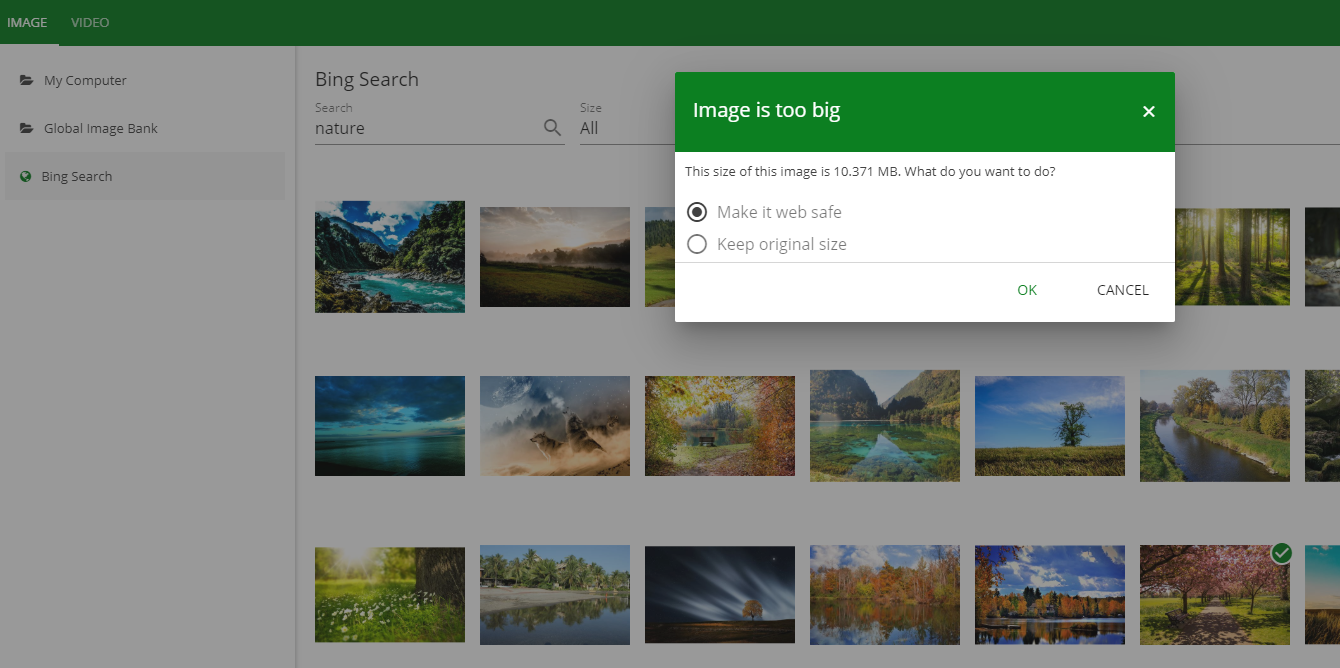
Images that are too big
If a user uploads an image that is too big, a warning is shown and the user can select to make the image “Web safe”, that is downsized to the the maximum size for images set, or keep the original size.
The setting for maximum image size is set in Omnia Admin, see the “Setup Media Picker (link at the top of m this page).
Video
For Video, select either “Microsoft Stream” for your company’s Microsoft 365 Stream, or “YouTube”.
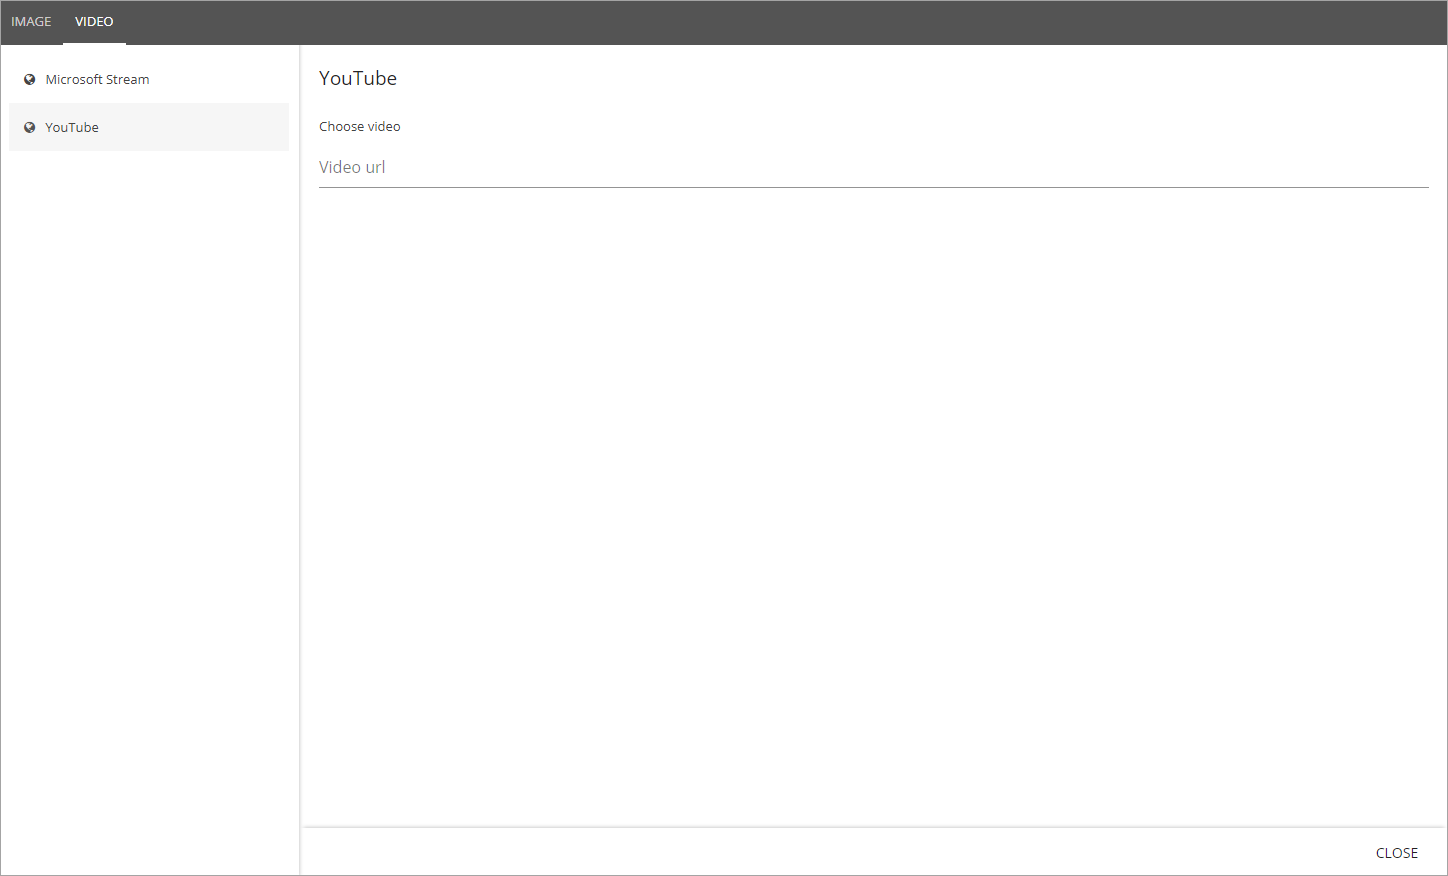
Note! You use this option to add a link to a video on a specific page (to the page image area). The link is not saved in the Media Picker, just on the page.
Here’s how to add a video:
- Go to the video.
- Copy the Url for the video.
- Paste the Url here.
Now the following settings are available:
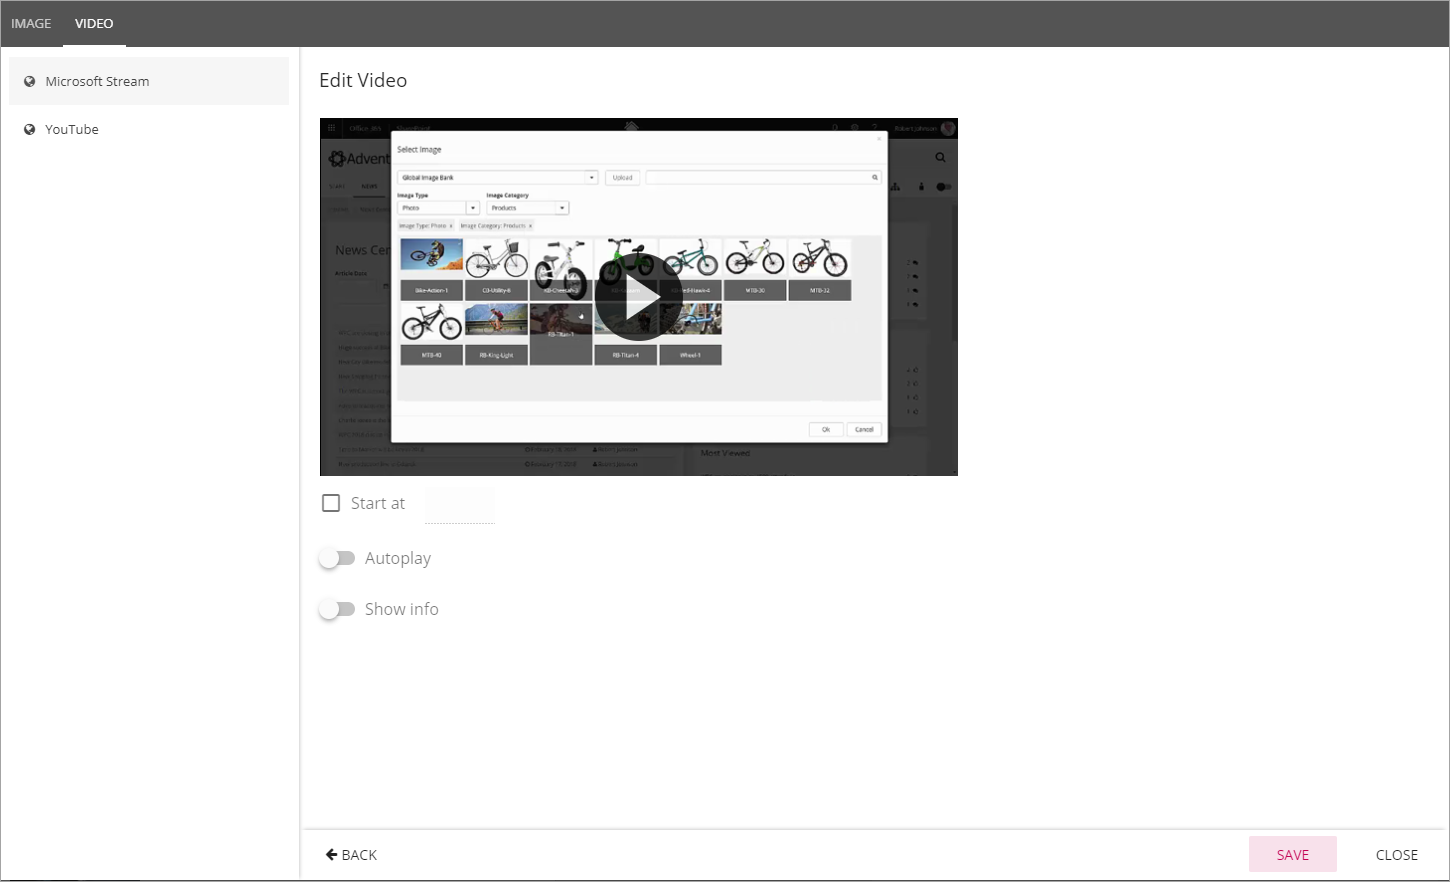
- Start at: If the video should not start at the beginning, set when it should start. Use the format minutes:seconds.
- Autoplay: If the vidoe should start automatically when a user opens the page, select this option.
- Show info: If the information about the video should be shown, select this option.