Process Library
The Process library is where members of the team site creates new processes and edit existing ones, and where processes are published so others can see them.
A published process is made available through a Process Viewer, see Process Viewer
Published processes can also be made available through a Process Directory, see Process Directory
All processes
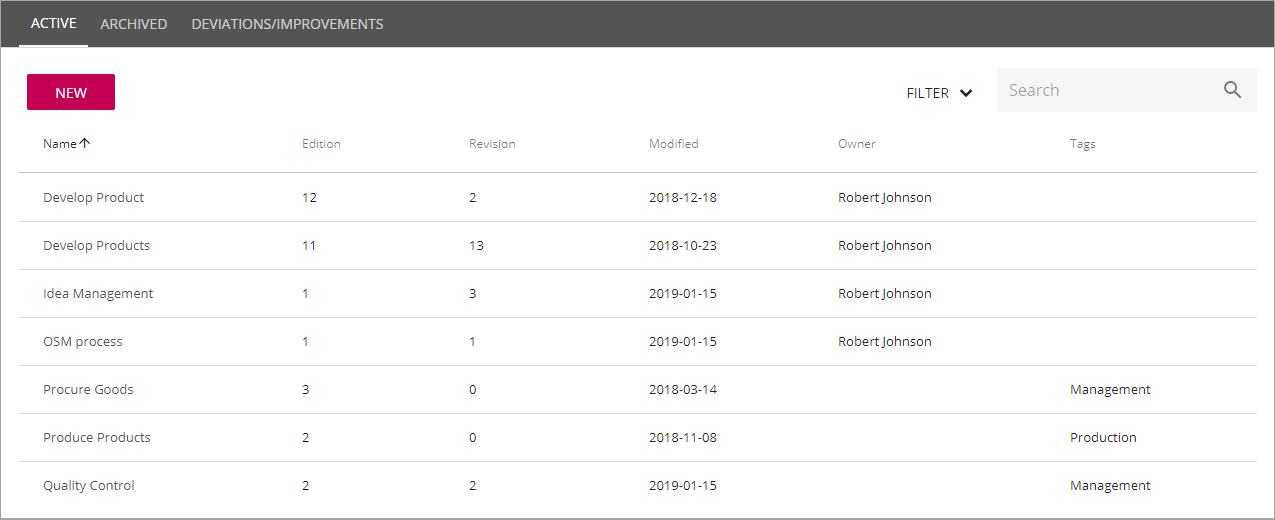
The main list (see image above) displays a list of all processes in this process library. Click any process for details or to start editing the process.
You can click the headings “Name”, “Edition”, “Revision”, “Modified” and “Owner” to switch between ascending and descending sort order.
Use the following options to filter the list and more:
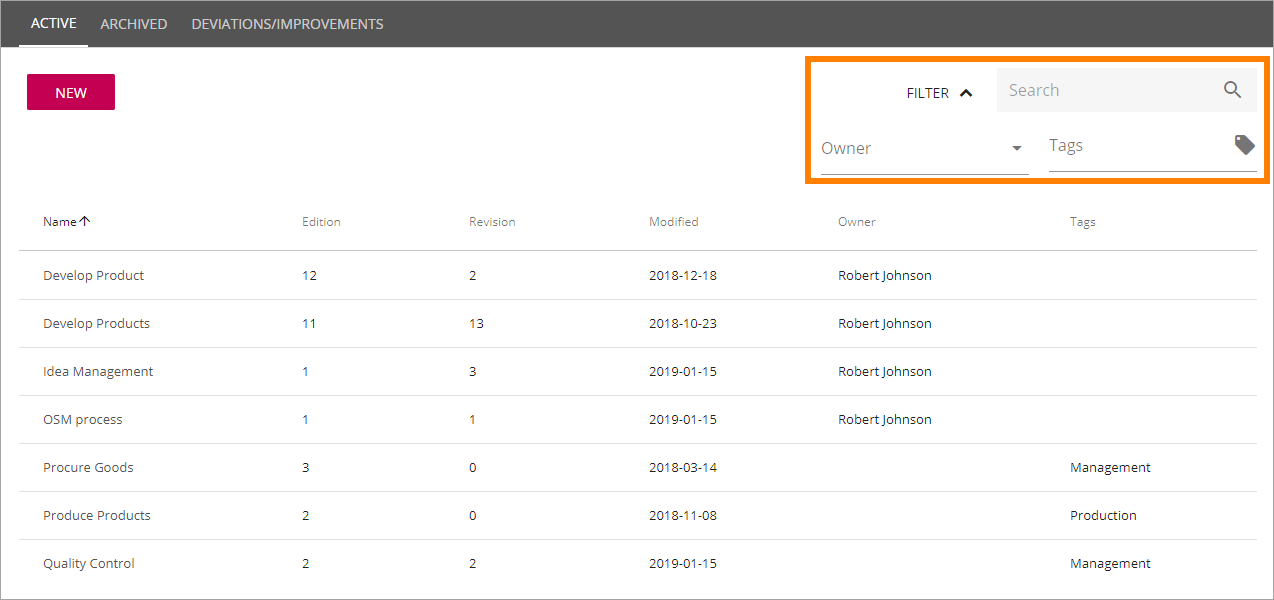
- Search: Filter the list by process names. All processes that contain the letters you have entered, somewhere in the process name, are shown.
- Owner: Filter the list on an owners name.
- Tags: Filter the list on one or more of the available tags.
Note that these filters are cumulative. An example: if you filter on a process name and a tag, a process must contain the letters in the name AND be tagged with the tag you have chosen, to be shown in the list.
- New: Create a new process by using this button. See below for more information.
- Archived processes: To see the list of archived processes, click this link. See below for more information.
- Deviations/Improvements: Use this option to work with deviations and improvements.
Navigate between processes
When you have selected a process you can go back to the main list by selecting “All processes” in the upper left corner.

You can go to another process in the left navigation. Click the button to open the left navigation.
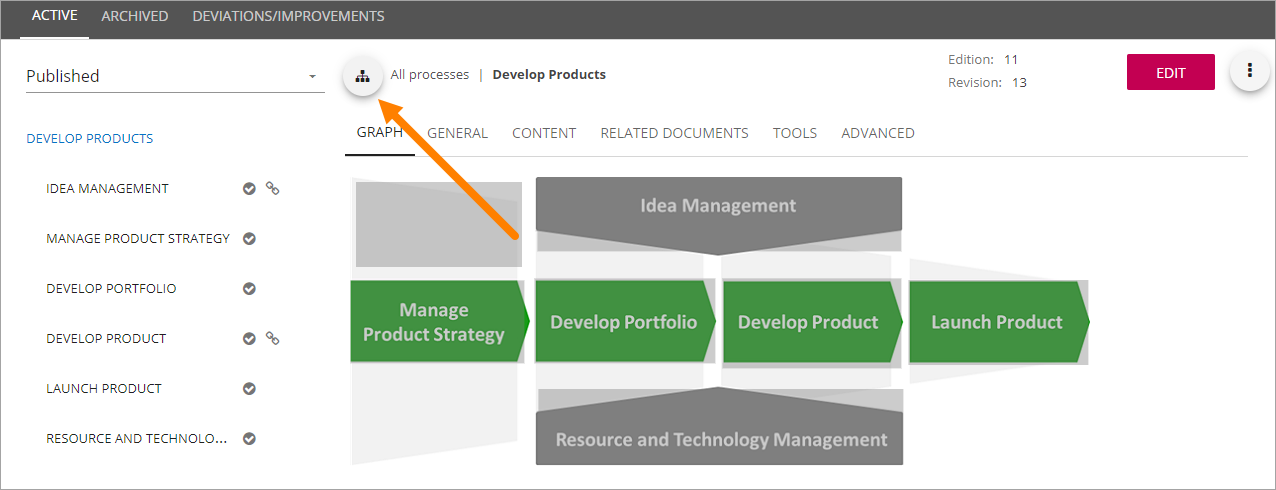
Click the button again to close the left navigation.
Create a new process
To create a new process:
- Go to the Processes library and click “New”.
The following is shown:
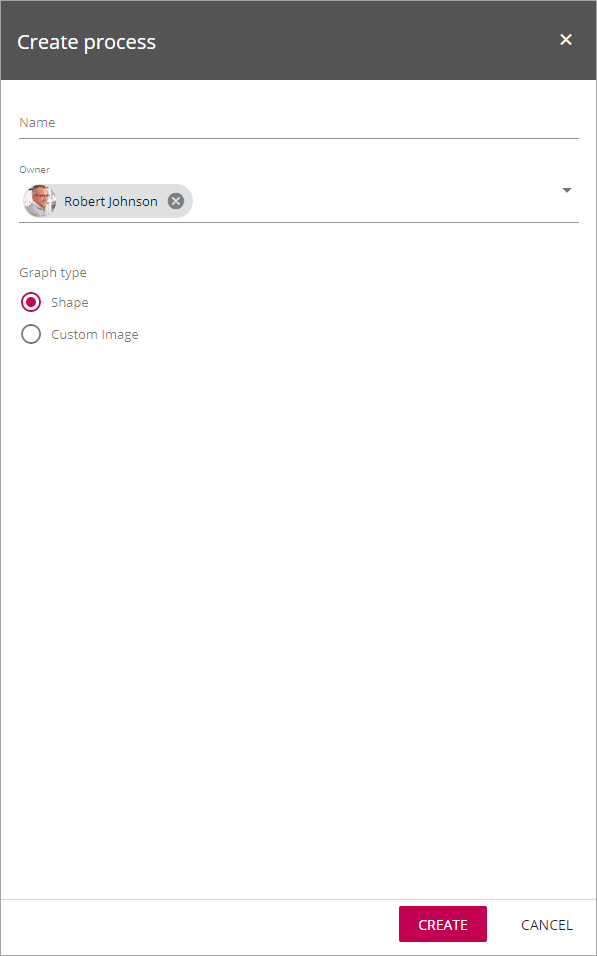
- Enter a name for the process.
- Add or delete owners if needed.
- Choose if you are going to use the shapes from the Omnia QMS library or a custom image.
If you choose to use a custom image, click “Select Image” and find and open the image.
- Click “Create”.
Important note on custom images
A custom process image with image maps will have a draft status and a published status. The images are stored in the local team site, not in a global image bank (but can be uploaded to the process from any source available).
When editing a process, a new image can be uploaded to replace the existing custom image. The image maps will remain in place, but can of course be edited.
When a custom image is replaced, you always need to publish to make the changes visible for end users.
Archived processes
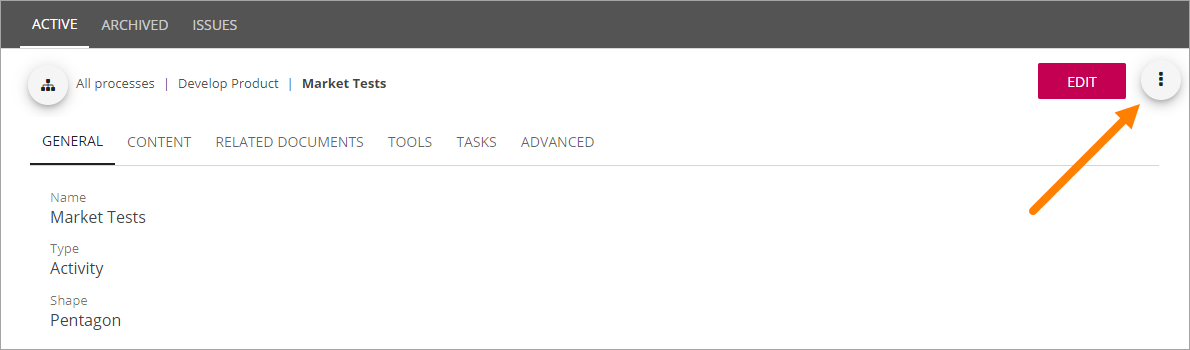
A process that no longer is used can be archived, so it’s not shown in the main list. Open the menu to the right:
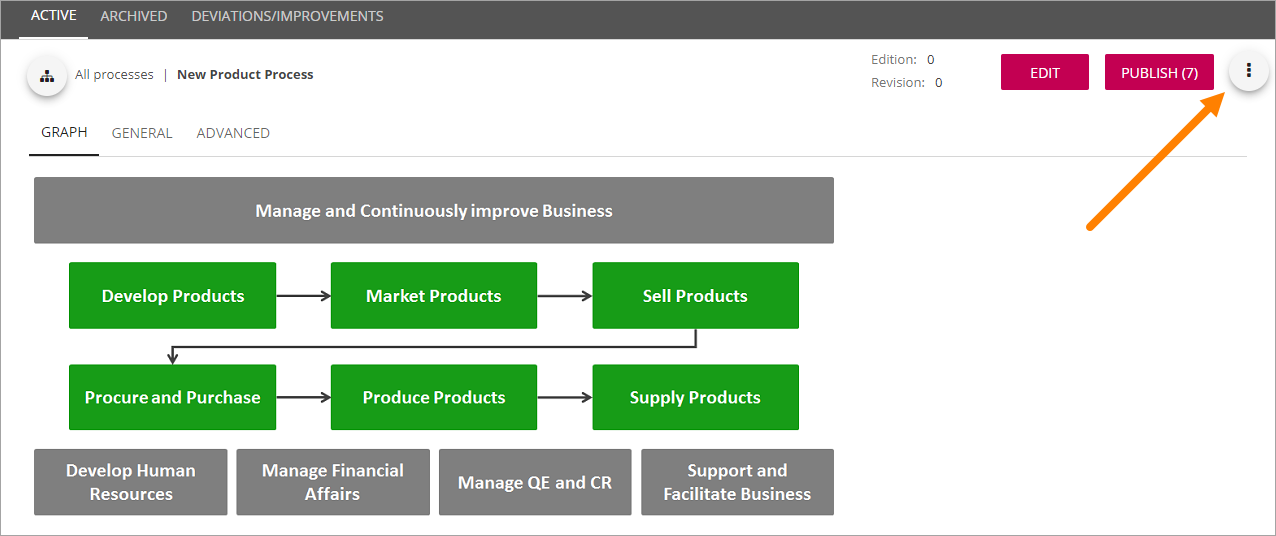
..and select “Archive” when editing the process.
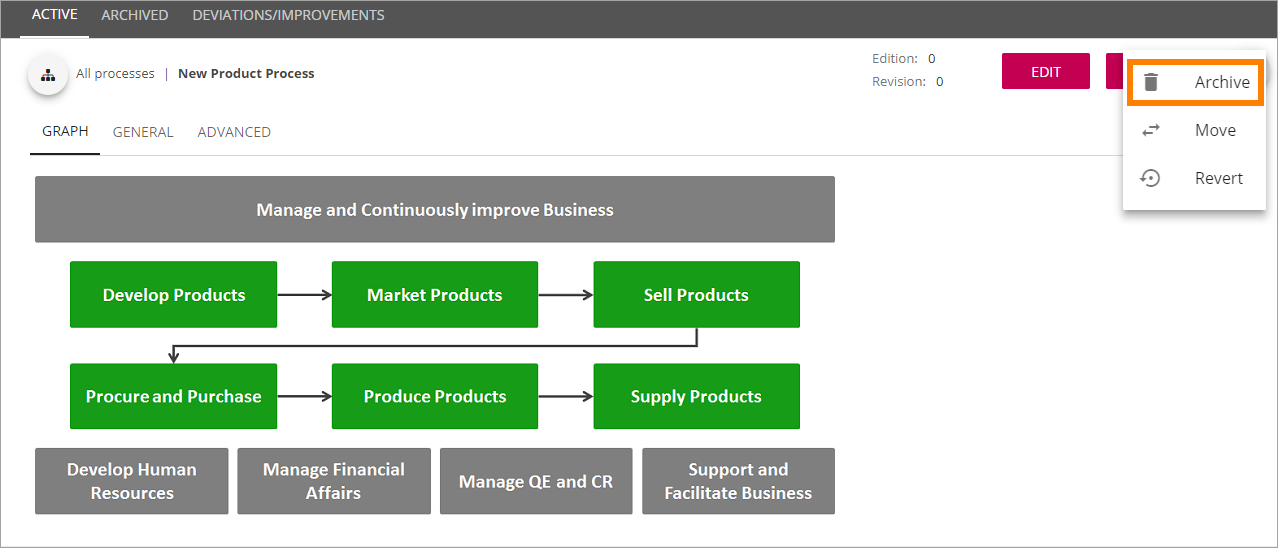
Note! An archived process can not be published. A published process is automatically unpublished when you select to archive the process.
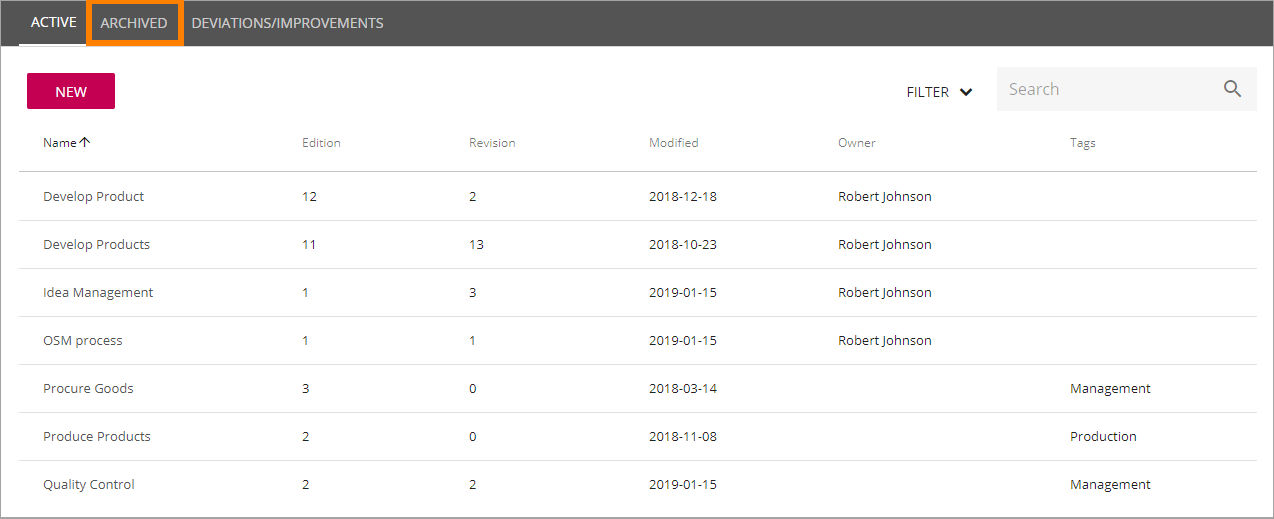
A list of archived processes can be reached by clicking the link “Archived processes” in the main list, see above.
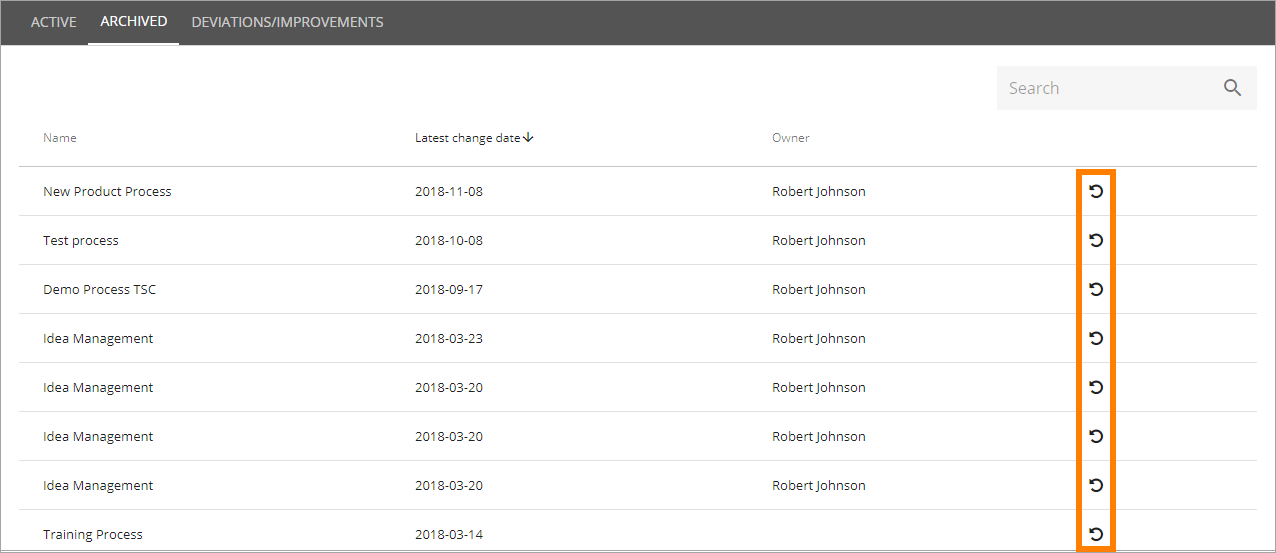
Here’s an example of a list of archived processes:
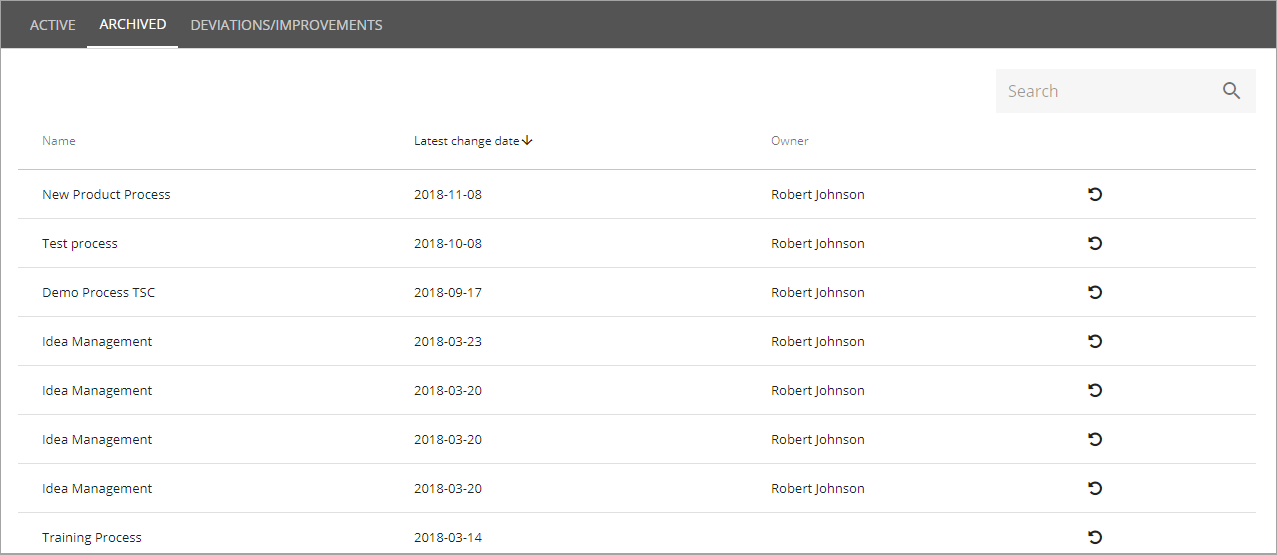
You can search the list and sort it by using the headings. A process can be restored by clicking the icon to the far right, and thus be available in the main list for editing and publishing.
Edit a process
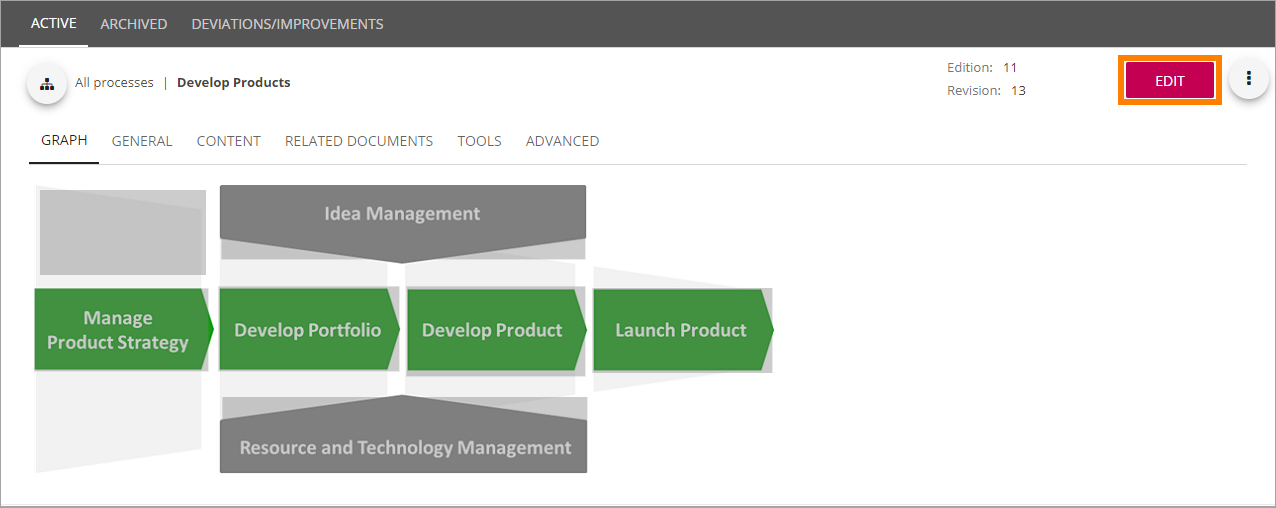
You edit a newly created process and an existing one the same way. Note that access mode is read only until you click “Edit”.
- Open the process from the list, if it’s not already open.
- Click “Edit”.
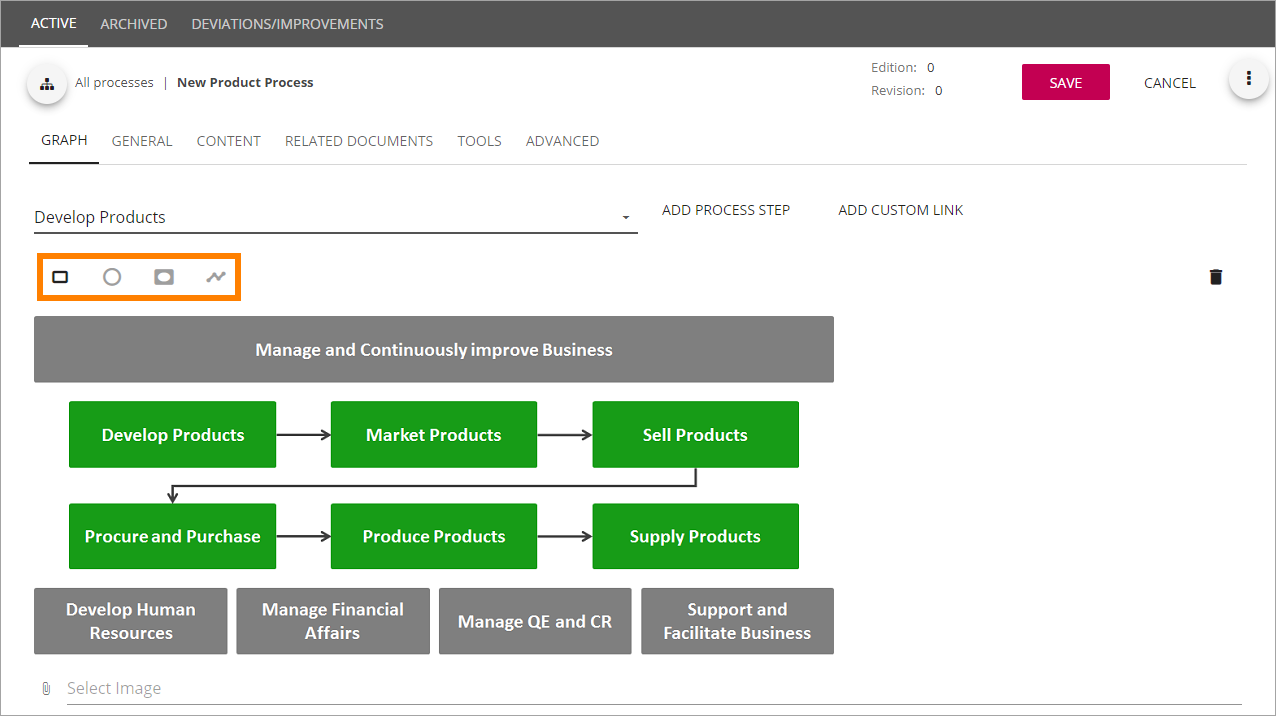
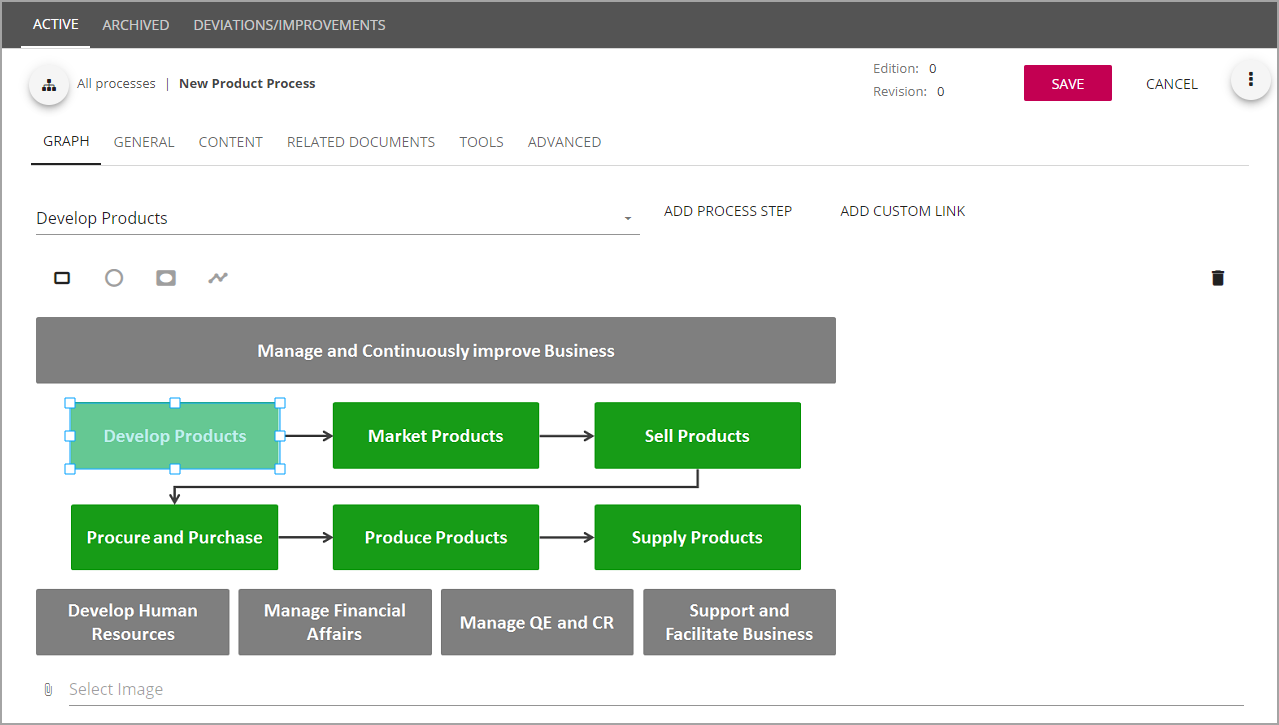
The Graph tab
Use this tab to work with the graphical presentation.
Add a new process step
To add a new process step, do the following:
- Click “Add process step”
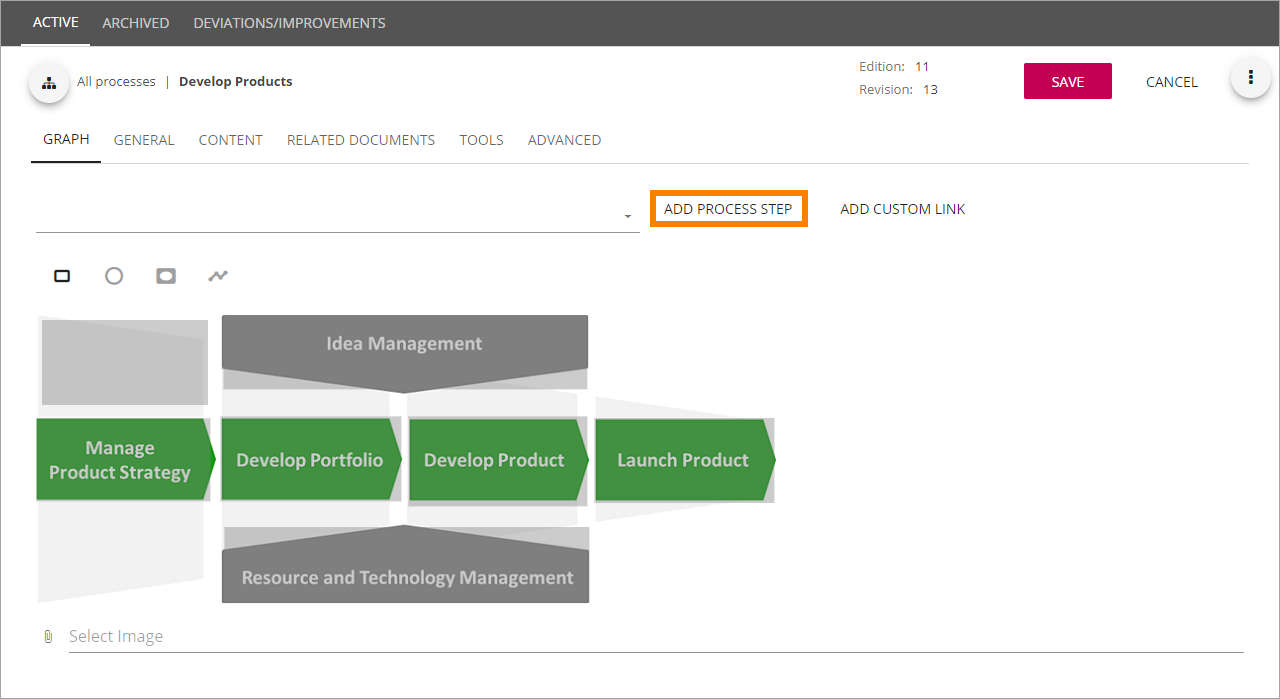
or “Add new process step” - the plus - in any step where you want to create a new step.
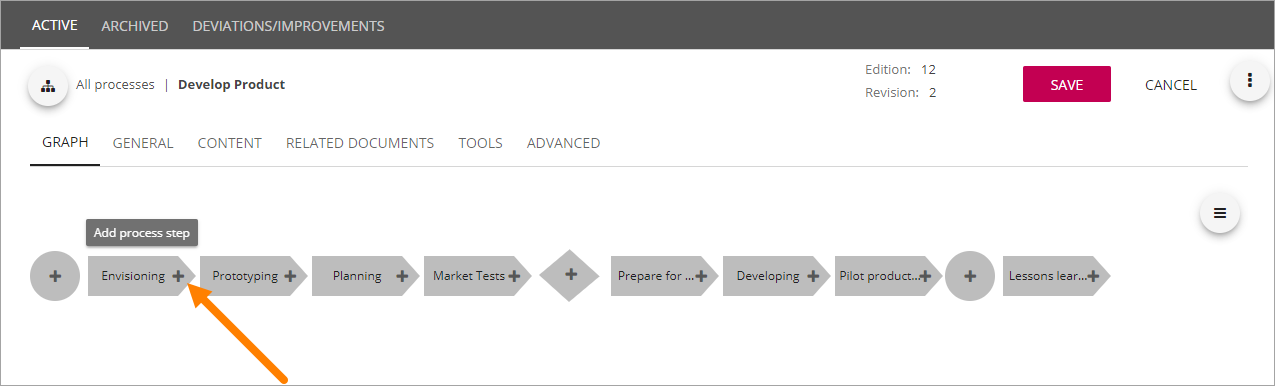
The following is shown (some options may not be shown, depending on where in the process you add something):
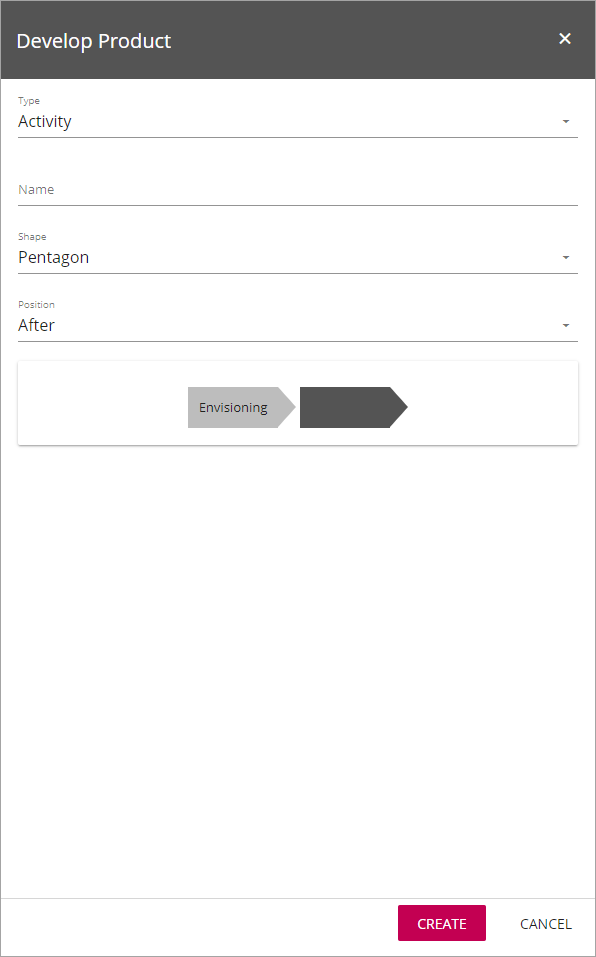
- Type: Type can be Process or Activity. When you select “Process”, a second list, where you can choose to create a new Process, a Sub Process, or a Linked Process, is shown.
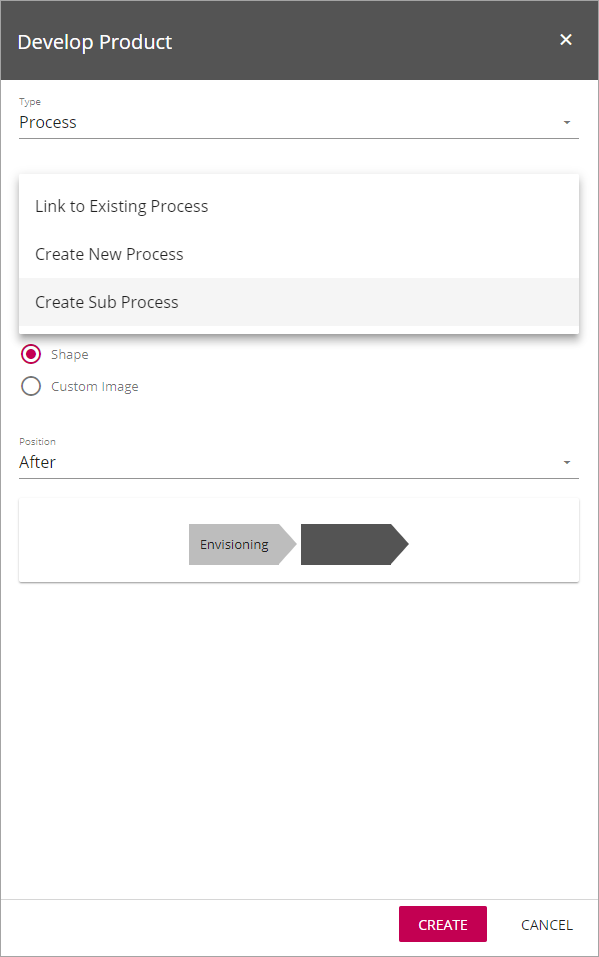
“Activity” is the end of the process or sub process, where you add actions. For an Activity you select which shape to use. When you select “Linked process” you add the link to that process.
- Name: Enter a name for the step here.
- Shape: Select shape for the process step here. For a “Sub Process” you can choose to use to use Shapes or a Custom image. A sub process can have other sub processes, activities or links to other processes.
- Custom image: When creating a sub process or a new process, you can use a custom image.
- Position: Select position for the new step, in relation to the step where you selected to create the new step - After, Before or Parallell.
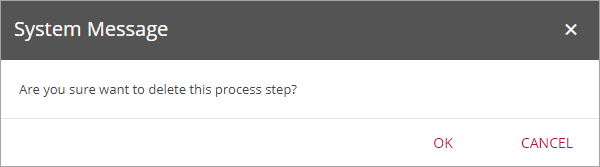
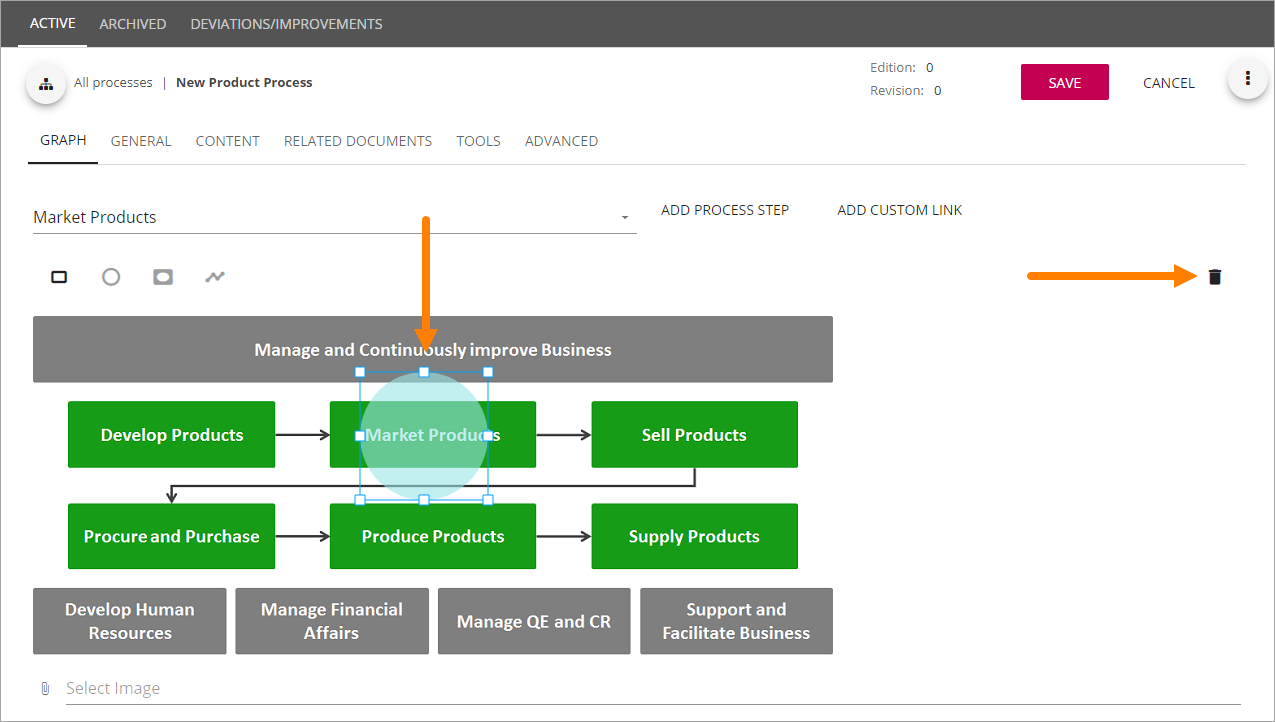
Delete a process step
To delete a process step, do the following:
- Enter the settings for the process step (for example, click the graphic representation for the step).
- Open the menu to the right.
- Select “Delete”.
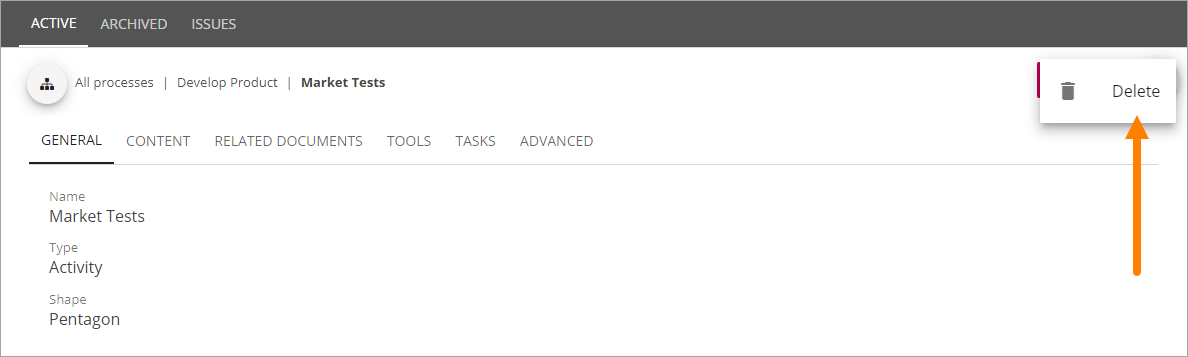
- Select “OK” (or “CANCEL” if you’re not sure).
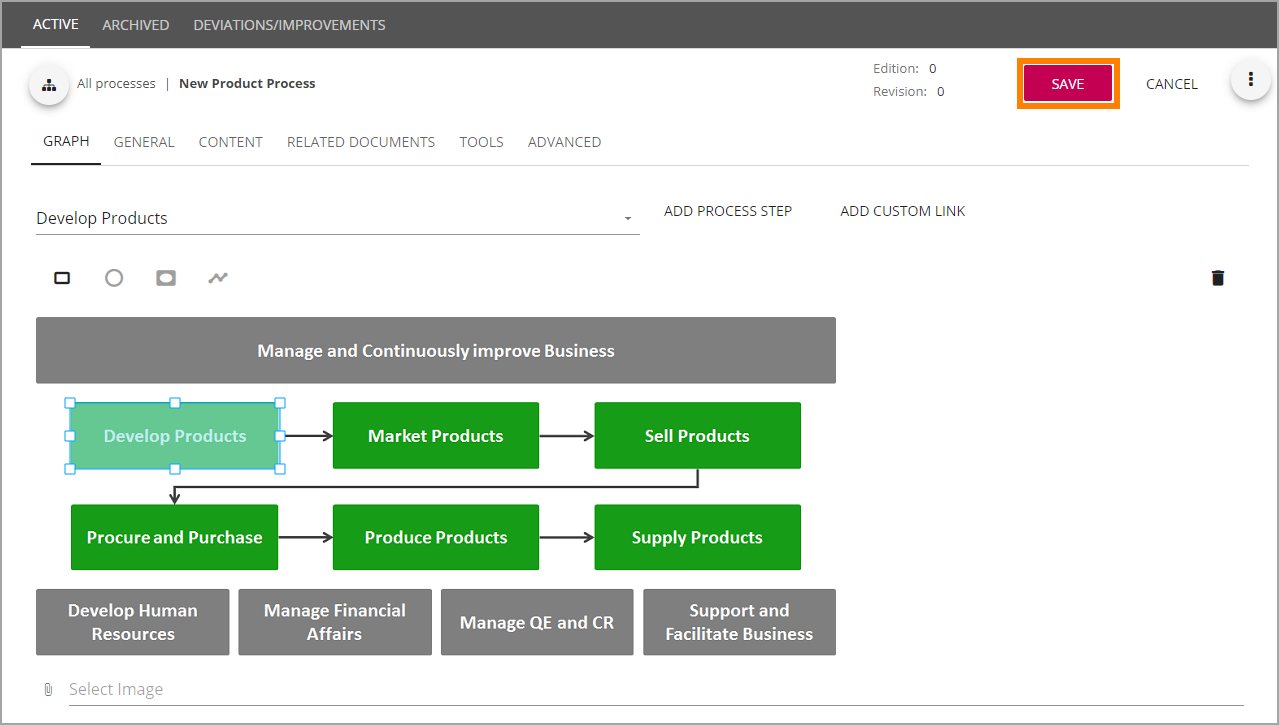
Reorder the process graph
You can reorder the process graph if needed. Select the menu to the right:
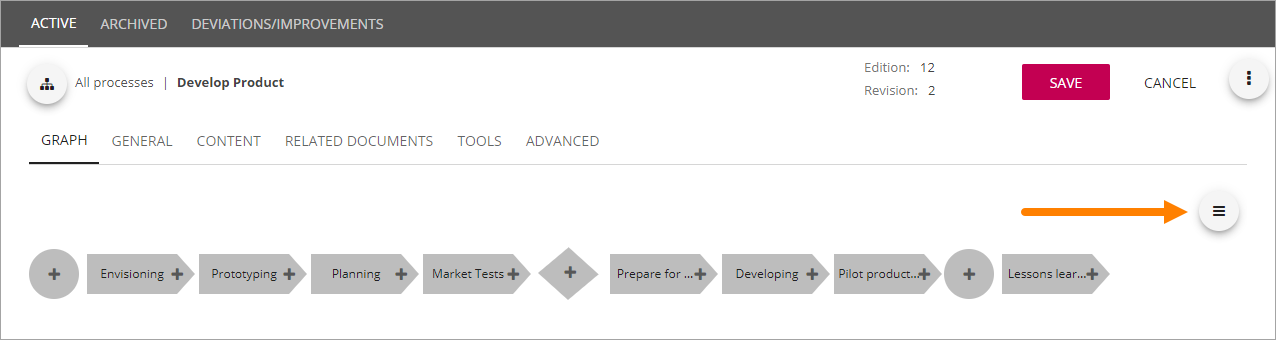
Choose what you want to do:

Creating a clickable link to a process
Here’s how to add clickable areas (image maps) to a custom image you have uploaded.
- Make sure everything you may want to link to is present in the list. If not, use ADD PROCESS STEP and ADD CUSTOM LINK to create Process Steps or links.

- Edit the process.
- Open the list and select what you want to link to.

- Select the shape for the clickable area.
- Draw the area in the right place in the graph.
- Adjust width and height for the area. (Point at an edge, and you can grab and draw that edge.)
- Click “Save”.
If you have placed an area for a clickable link in the wrong place, just drag the area to the right place.
To delete a clickable area, select it and click the dust bin.
The General tab
On this tab you can set the following:
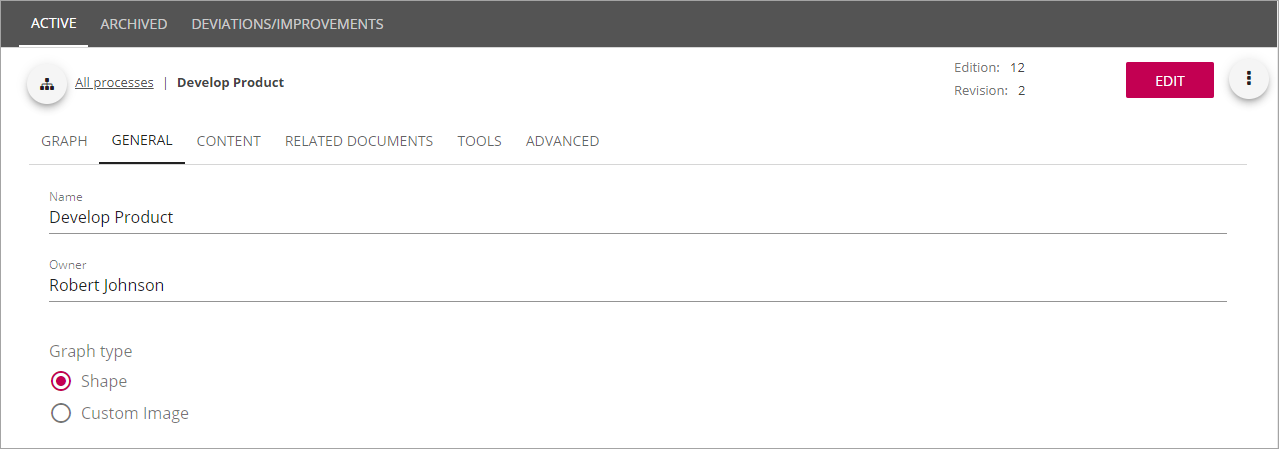
- Name: Edit the Process Name here if needed.
- Owner: Edit process owner(s) here if needed. Note that process owners is separate from site owners.
- Graph type: You can change from using Shapes to Custom image, or vice versa.
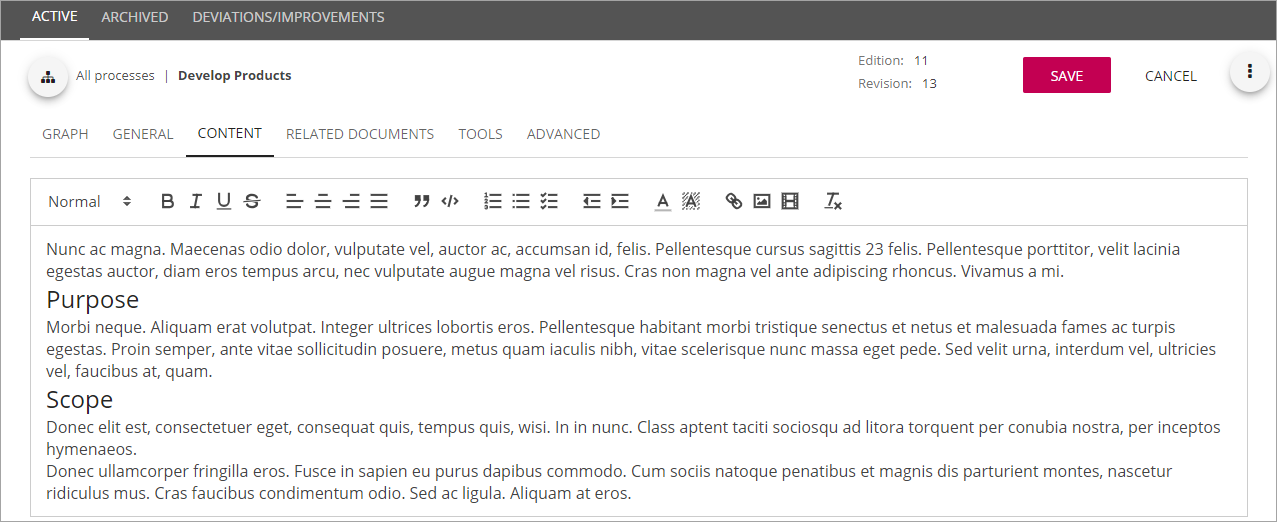
The Content tab
Here you add/edit the description for the process. Note the format options. You can also insert images, links and tables.
The Related Documents tab
If Omnia Document Managament is installed in the current tenant, editors of controlled documents can relate a published document to a process. It’s then up to the Process Owner to decide to make the document available at the process in the Process viewer, or not. Another way of doing this is that Process Authors can relate published controlled documents to the process.
Any related document is listed on this tab. To relate a new document, click the button.
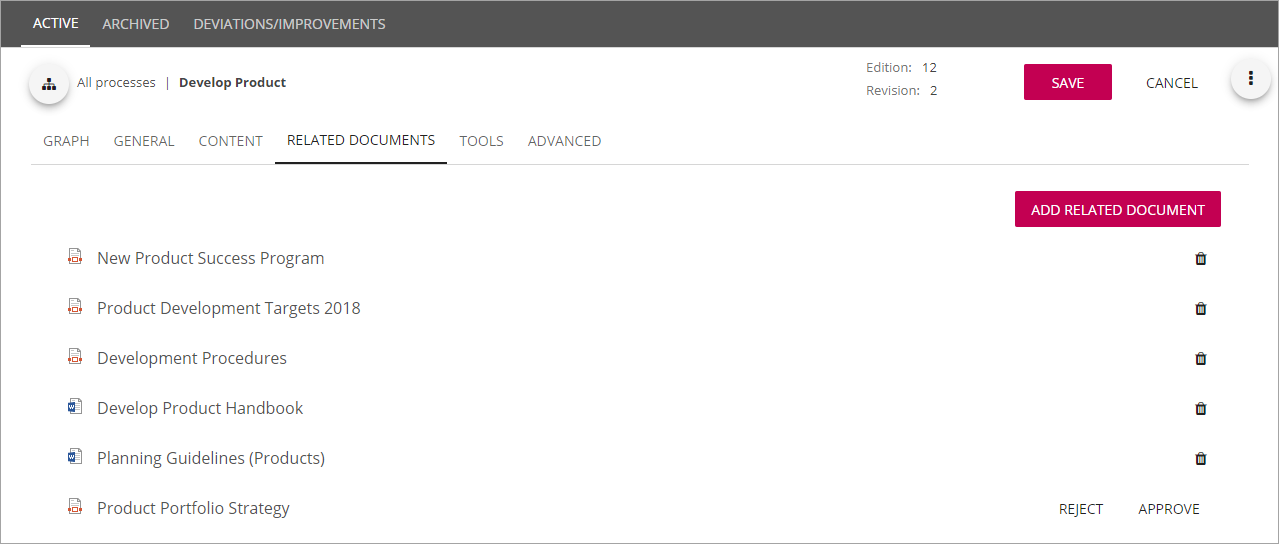
Use this dialog to find and select documents:

The Tools tab
Use this tab to link to documents. You can also link to pretty much everything, for example pages, bya adding custom links. In i long tools list, you can add headings for separate sections, to make it easier for user to navigate.
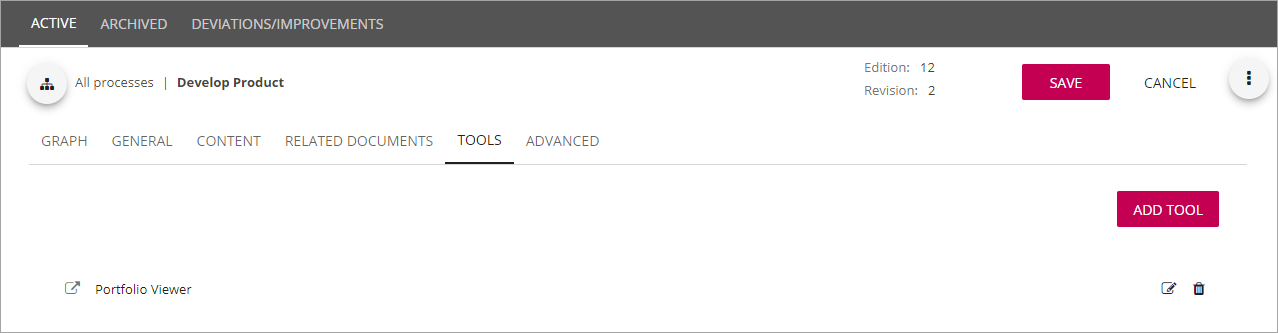
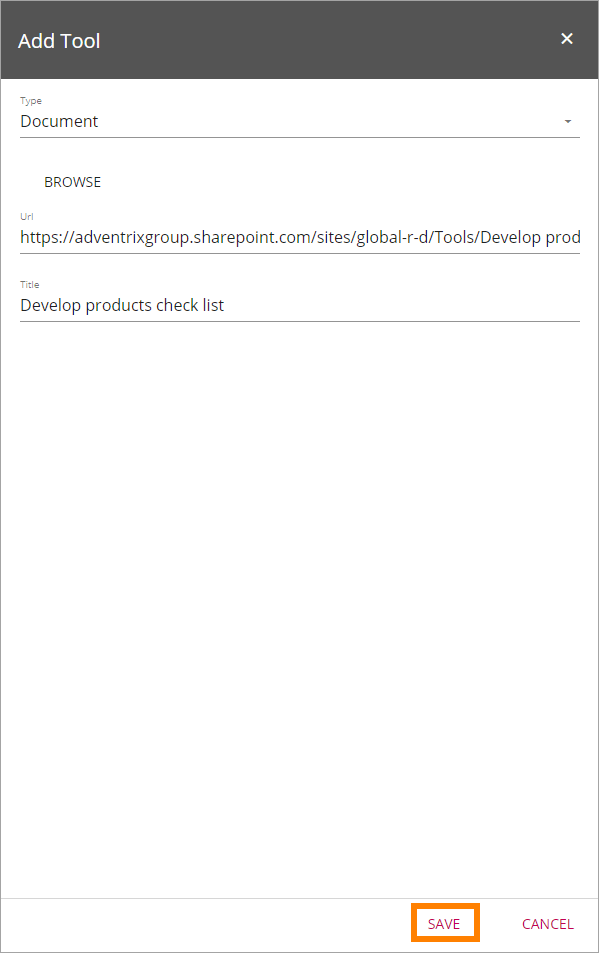
Do the following to link to a document:
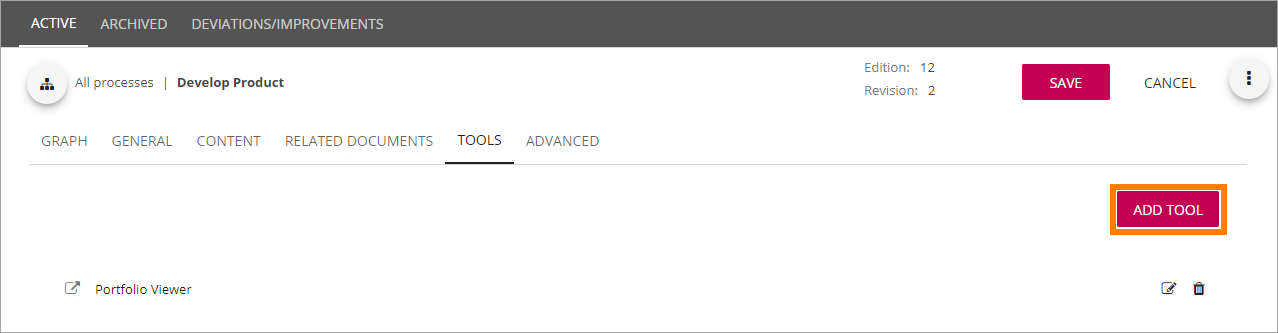
- Select “ADD TOOL”.
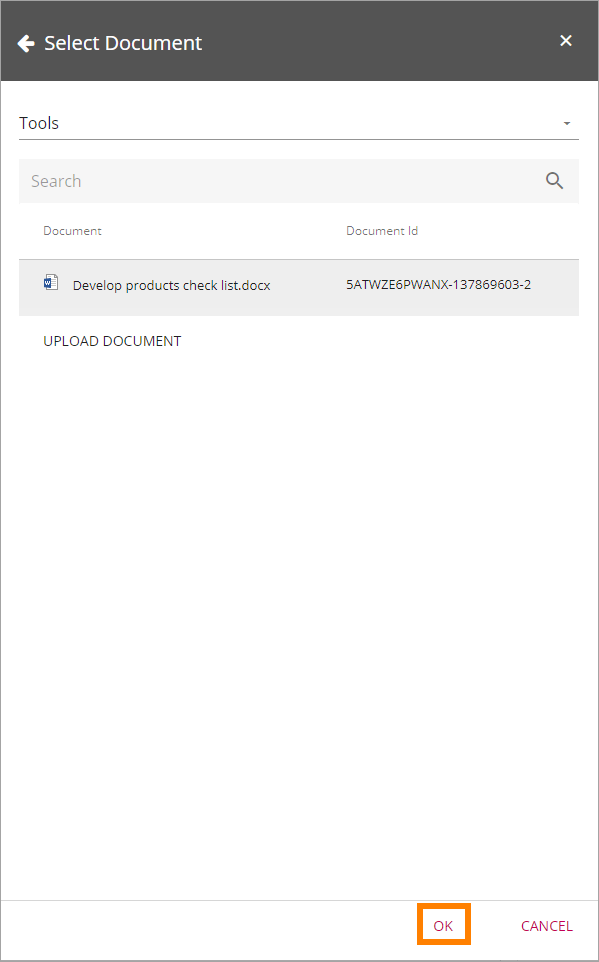
- Select “Document” from the list.
- Click “Browse”.
The list of documents, if any, is shown. If the document isn’t uploaded to the team site:
- Click “Upload Document” and upload the document you want to add to Tools, if needed, and then select the document.
- Select the document and click “OK”.
- As the last step, click “Save” to add the document to the tools list.
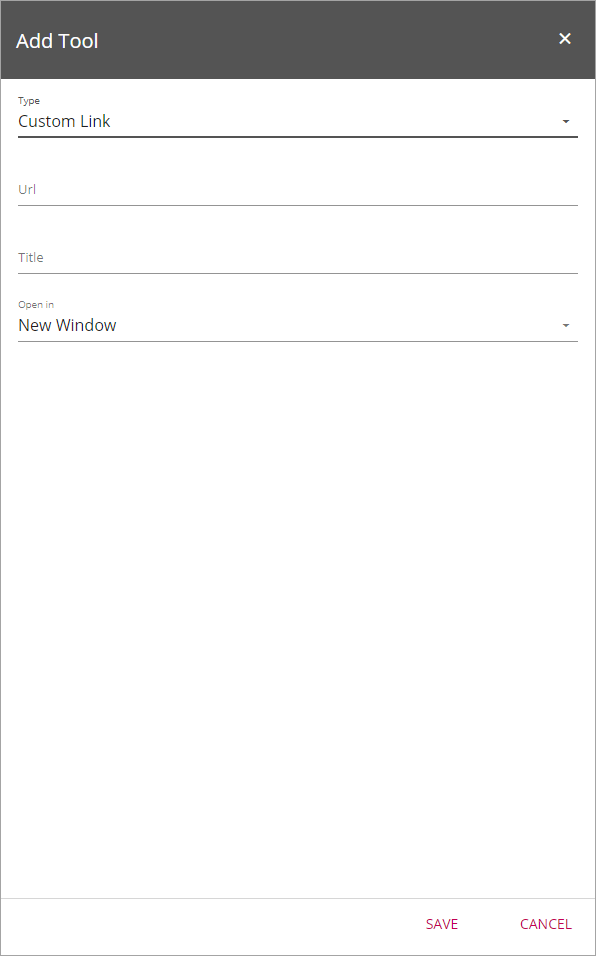
To add a link to anything (for example a page in Omnia, or an internet page) you can reach through a link, select “Custom link” and add the Url, A Title (name for the link), and select to open the link in new window or not, and click “Save”.
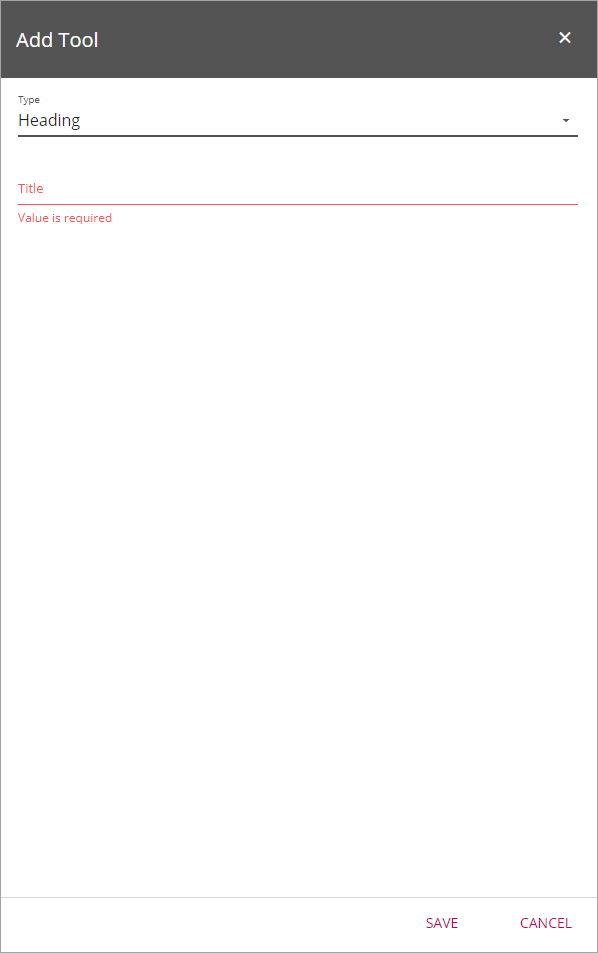
To add headings, if nedded, select “Heading, type the heading in the field, and click “Save”.
To edit or delete a tool, click the icon for the tool.
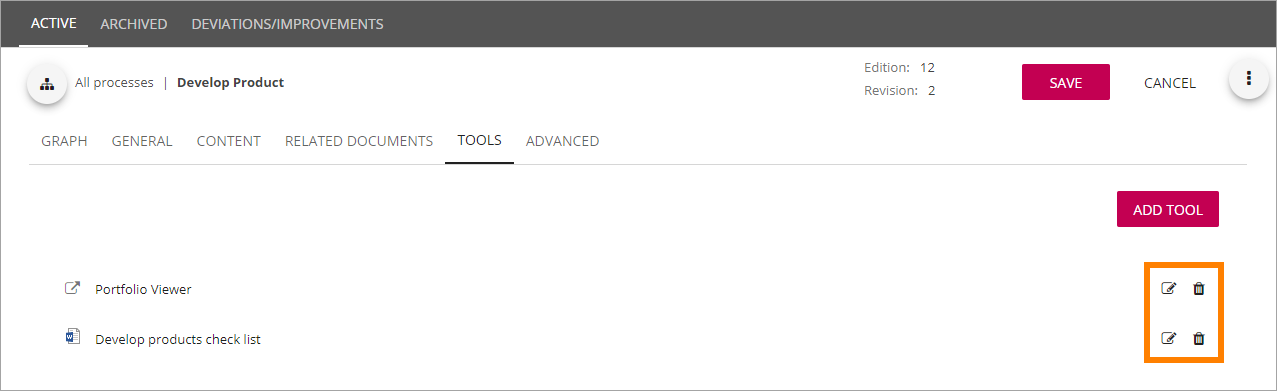
If you would like the tools to be shown in another order, just use drag and drop.
Don’t forget to save before you go on to another tab.
The Advanced tab
On this tab you can set the following:
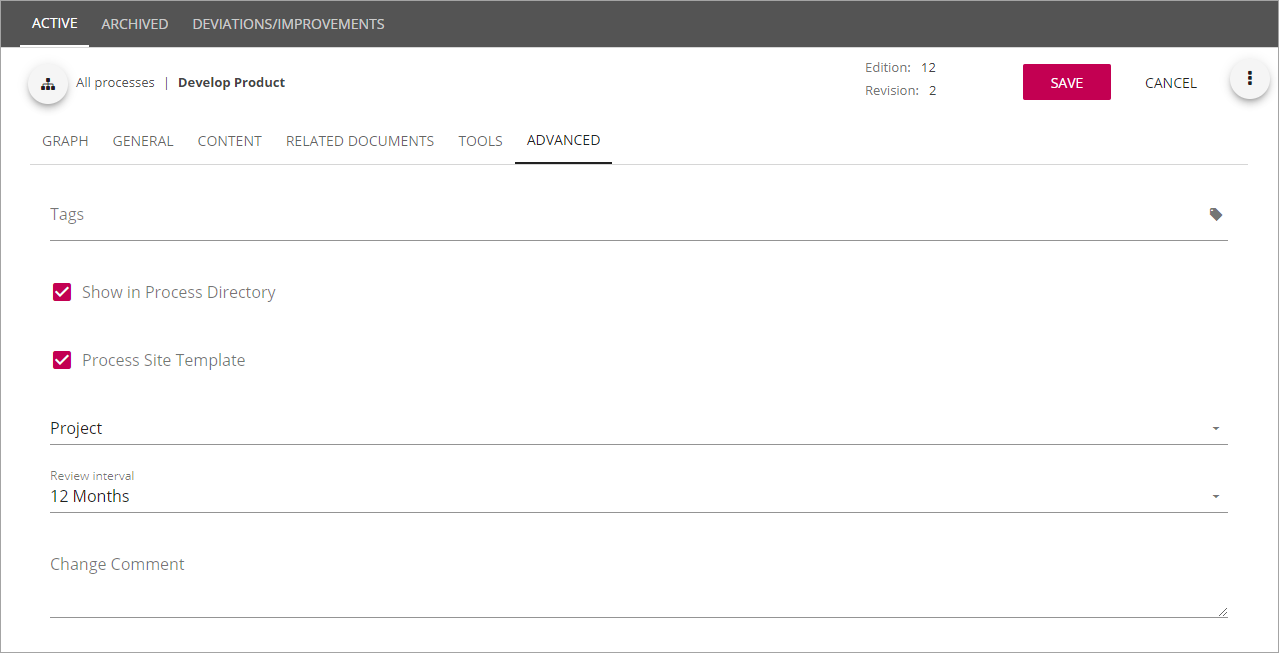
- Tags: Add tags for the process. This is a metadata list. You can select tags from the list, you can not create new tags here. The tags are important for search. (Available tags are set up centrally, see Setup Quality Management.)
- Show in Process Directory: Decide if the process could be shown in a possible Process Directory or not (Default: Show).
- Process Site Template: You can create a “Process Site Template” from this process. You can then create a new team site based on this process. Documents you link to and actions you add here will then be set up in the team site created from this template process.
- Review interval: Set Review interval. When a published process is nearing it’s reviewal time, it will be part of the revewial list in Omnia Admin. (See more information about Review below).
- Change comment: Here you can add a comment about the latest changes for this process.
The Deviation/Improvement tab
If set up, users can send feedback to a process, via the link “Feedback” in the Process Viewer, and tag the posting as Improvement, Deviation or Risk. These feedback posts are shown and can be handled on this tab.

You can use the “New” button to add feedback here yourself.
More information is found here: Deviations/Improvements
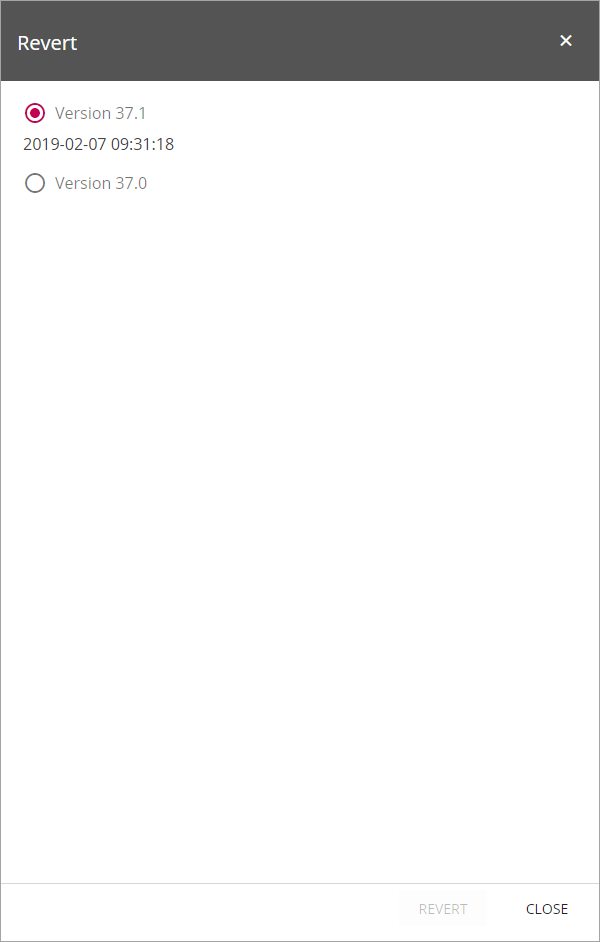
Revert to an earlier version
If something goes really wrong when editing a process, you can revert back to an earlier draft version of the process.
Note!: Draft versions are only available until you publish. When a process is published, all draft versions for that edition of the process are removed. You can not revert back to an earlier published version.
Use the option “Revert” in the menu to the right.
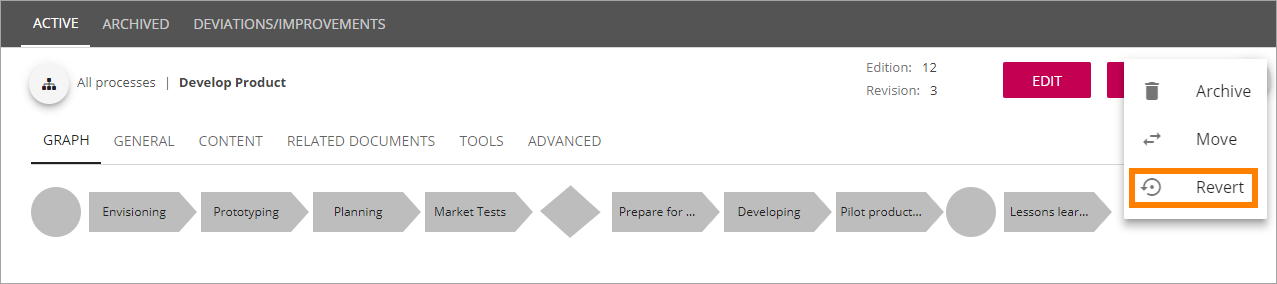
In the list shown you select which version to revert to.
Publish a process
To publish the process, just click “Publish”.
To be able to publish a process, you have to have the correct permission. If you don’t have the permission, the Publish button is grey.
Move a process
A process can be moved to another team site if needed. It’s done this way:
- Go to the team site you will move the process to and copy the URL.
Note!: The URL should be to the Team site itself, not to the process library in that site.
- Open the menu to the right and select “Move”.
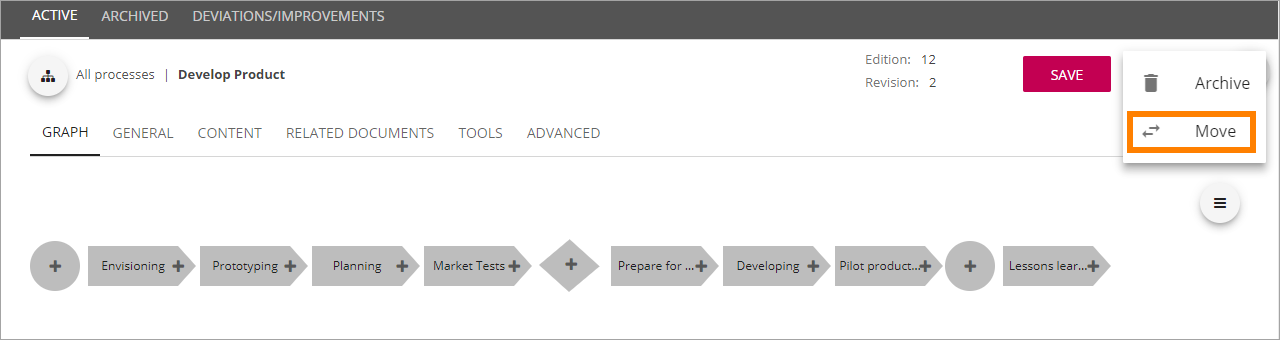
- Paste the URL in the top field.
The name of the site should now be displayed in the second field, for example:

- Select “Move”.
Review processes
To see a list of processes that is nearing their review times, do the following:
- Go to a site where a Process Library is installed.
- Open Omnia Admin and select “Process Management” under “Site Collection”.
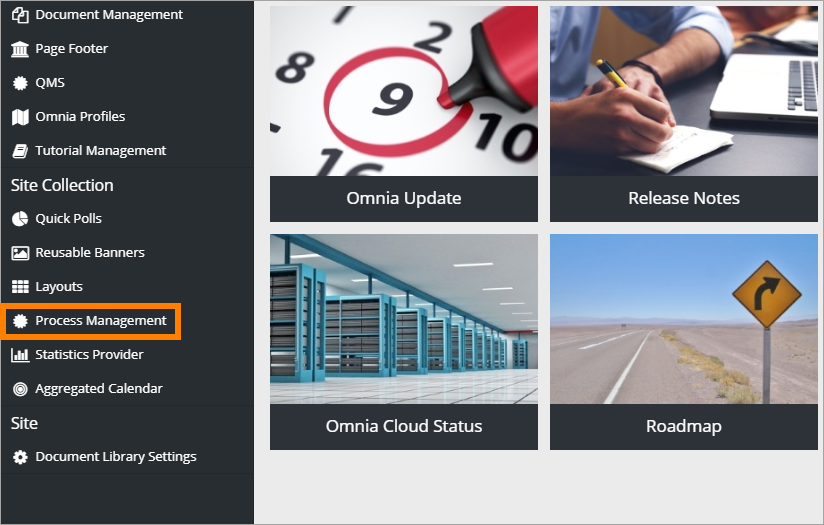
Then select “Reviews”. Here’s an example of a Review list:
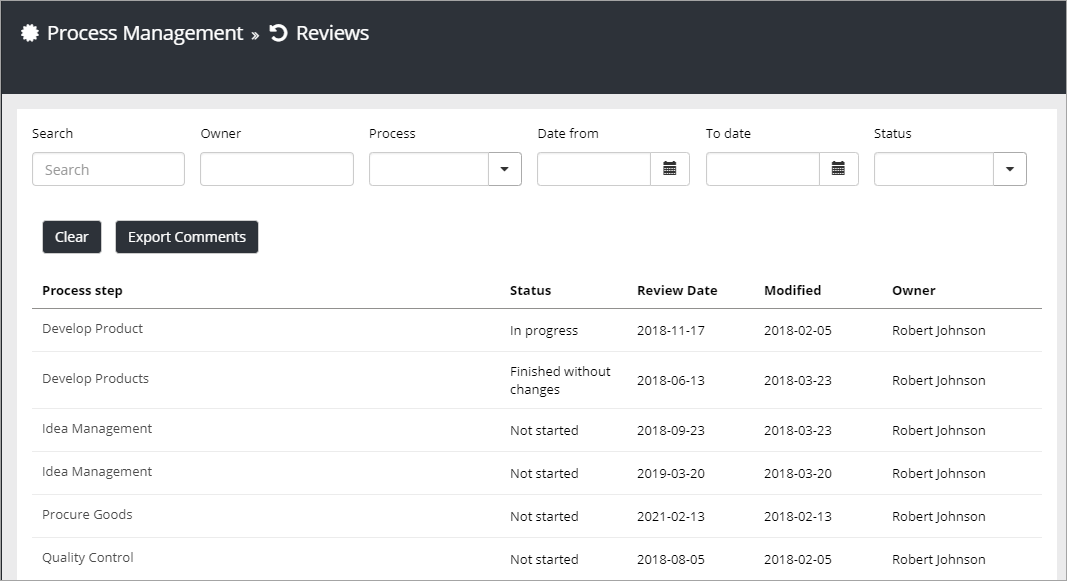
Use the fields at the top to filter the list. Use “Clear” to clear filtering and see the whole list. Use “Export” to export the list that is shown, to Excel.
Also note that you can click the headings to change between ascending and descending sorting.