Setup Multi Lingual Pages
- Go to SharePoint Admin Center > term store.
- Make sure that you are a Term Store Administrator.
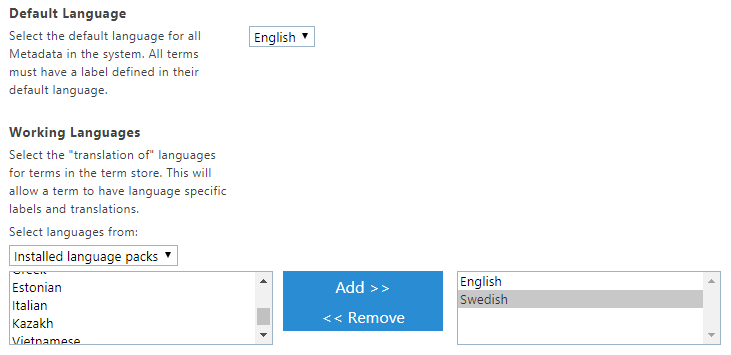
- Add the languages you would like to support in the solution as Working Languages in the term store.
- Go to Omnia Admin > System > Caching.
- Delete all keys that belong to the Region “intranetnavigationlanguagecache”.

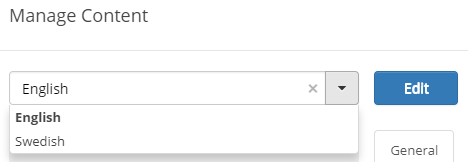
- The selected languages should now appear in Manage Content.
You need to enable MUI in the publishing site if you want to:
- Make sure that system labels, and not only content, are translated to the end user.
- Make sure that the selected language on a web page defaults to the preferred language of the logged on user.
Follow these steps to enable MUI.
- Go to the start page of the main publishing site.
- Go to Site Settings > Language Settings.
- Add Alternate language(s) and save.
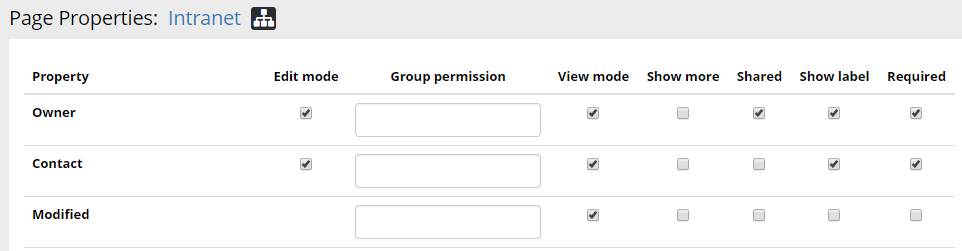
You can decide whether a page property should be for a specific language or if it should be shared between the different translations.
- Go to the start page of the main publishing site.
- Go to Site Contents > Pages library settings.
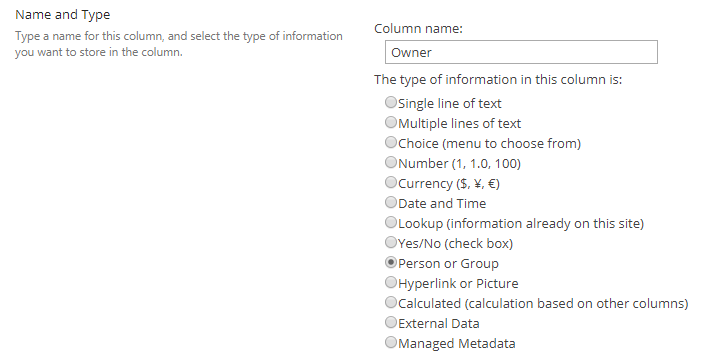
- Create a new column.
- Go to Omnia Admin > Content Management > Page Properties.
- Add the Owner property to edit and view mode and make sure it is Shared.